

The complete guide
How to Choose and Use a DIY Kite Making Kit
The problem with most craft kits
Craft kits usually end the same way. The child makes a thing, the thing sits on the kitchen bench for four days, and then it quietly moves to a drawer or the bin. The making was fun. The having is not.
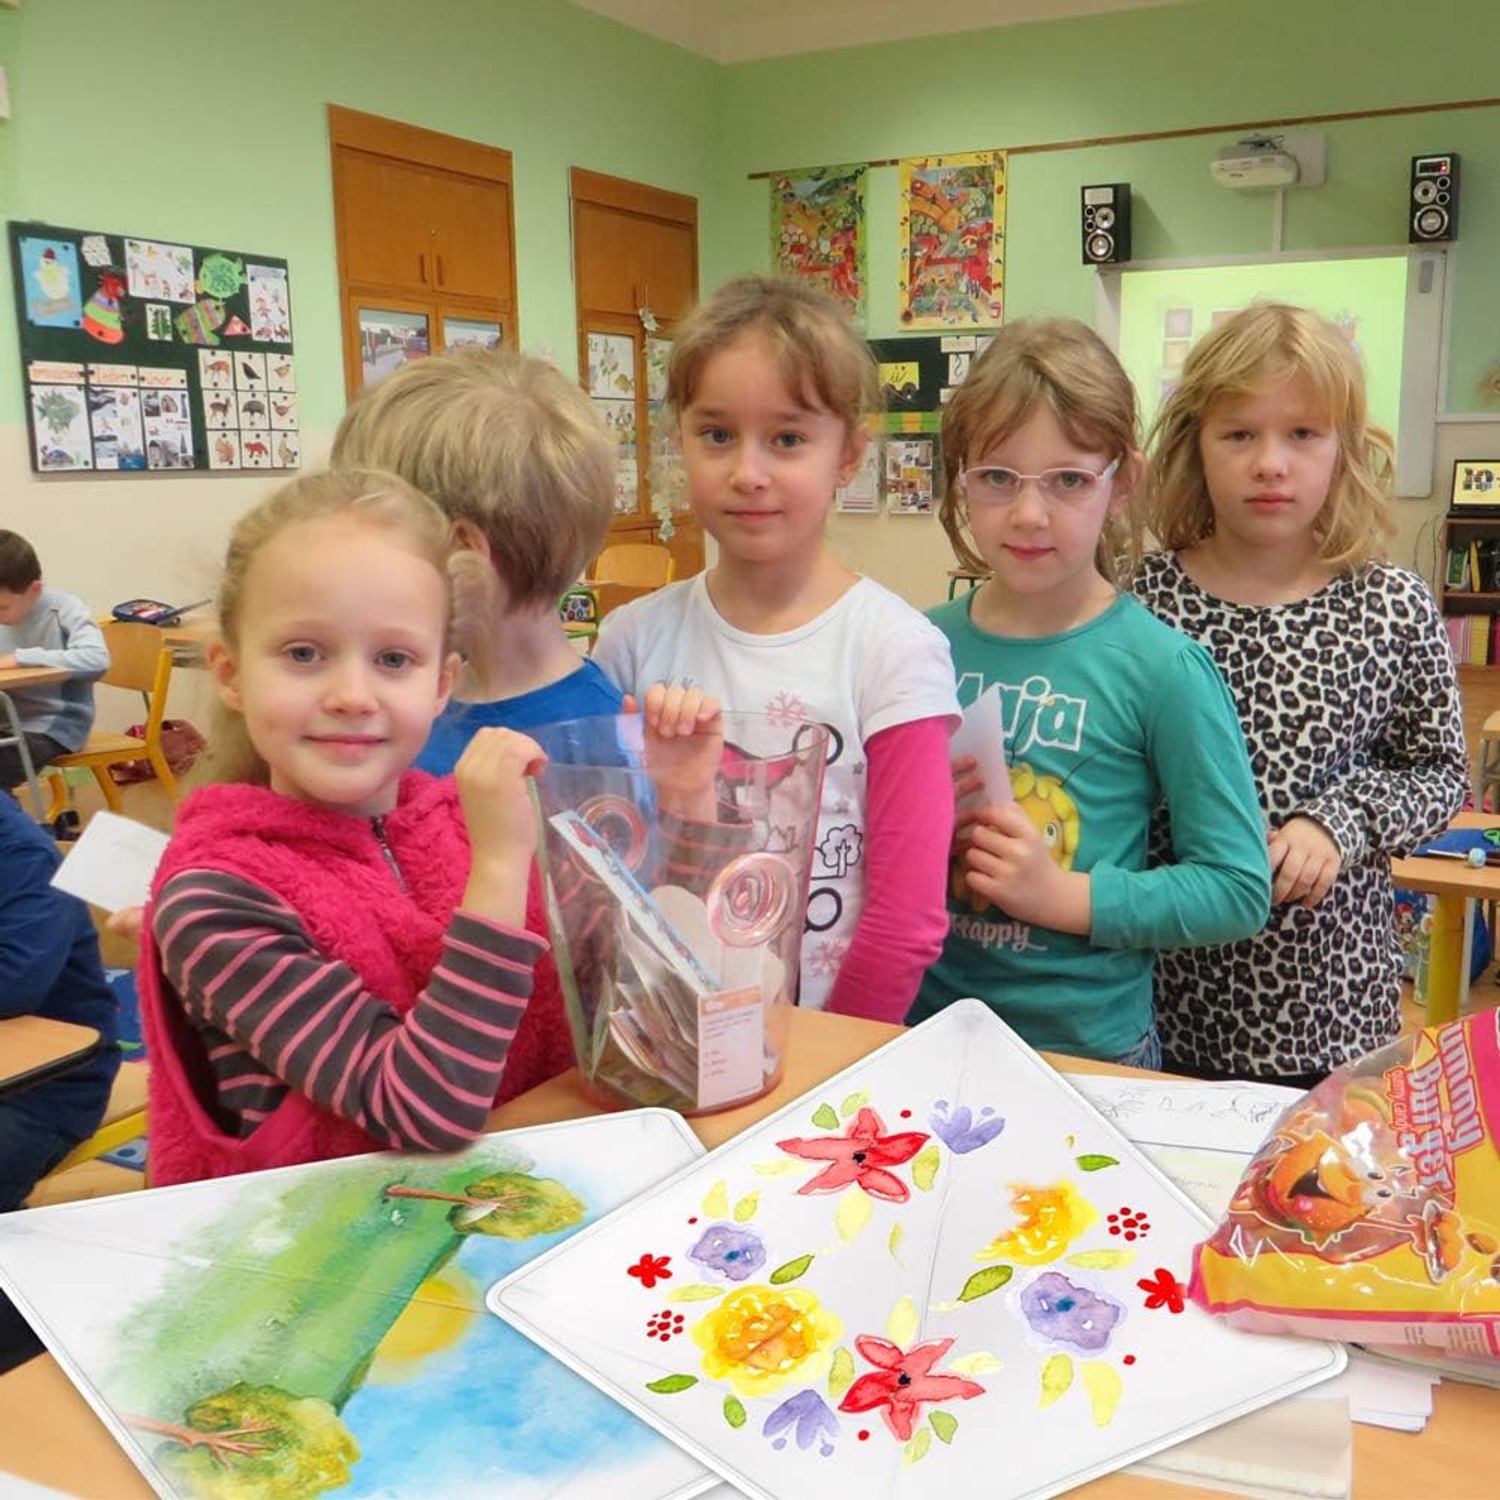
A kite is different because the craft has a second act. The drawing is only half of it. The other half happens outside, where the thing you made does something, pulls on the string, climbs, dips, and gets looked at by strangers in the park. That gap between the table and the sky is what makes a decorate your own kite project stick in a child's memory when a paper plate collage does not.
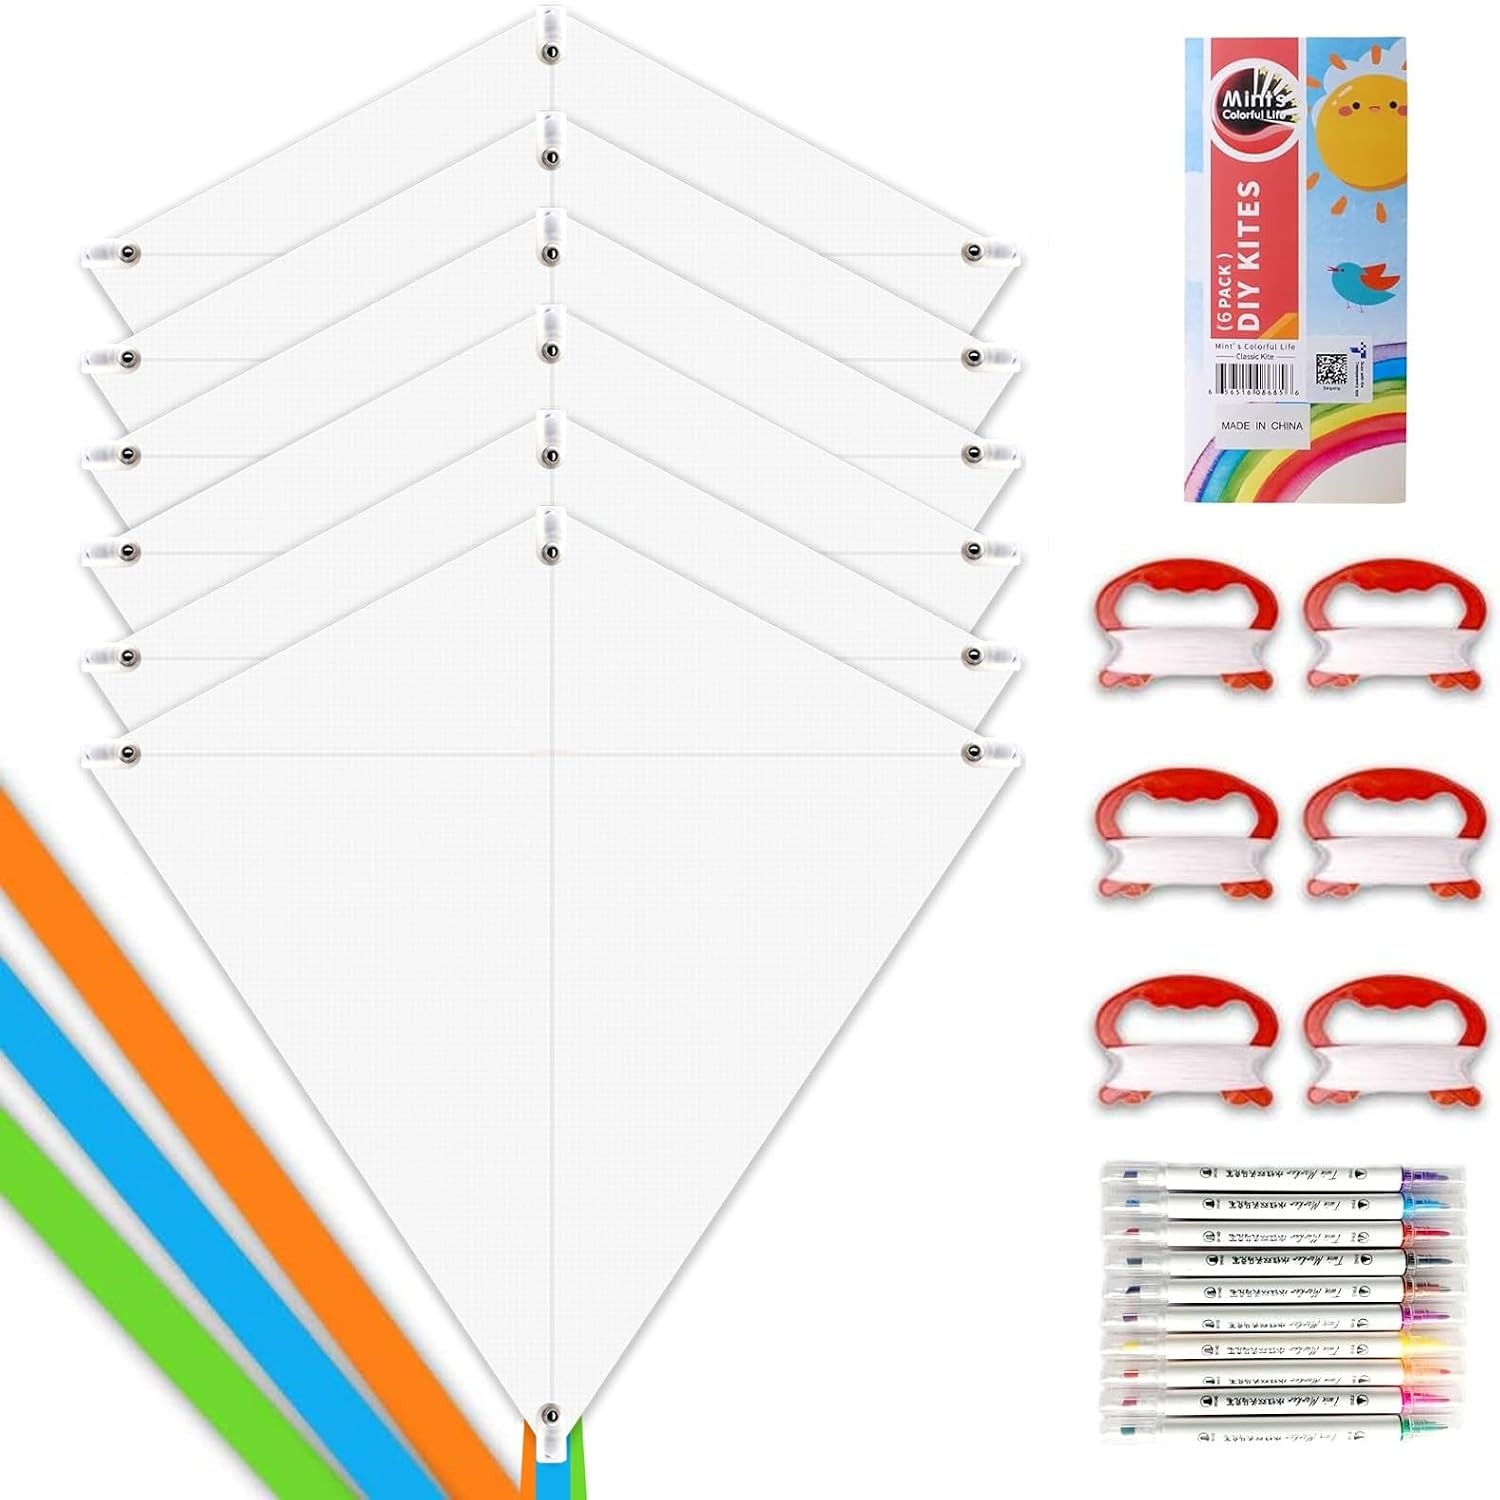
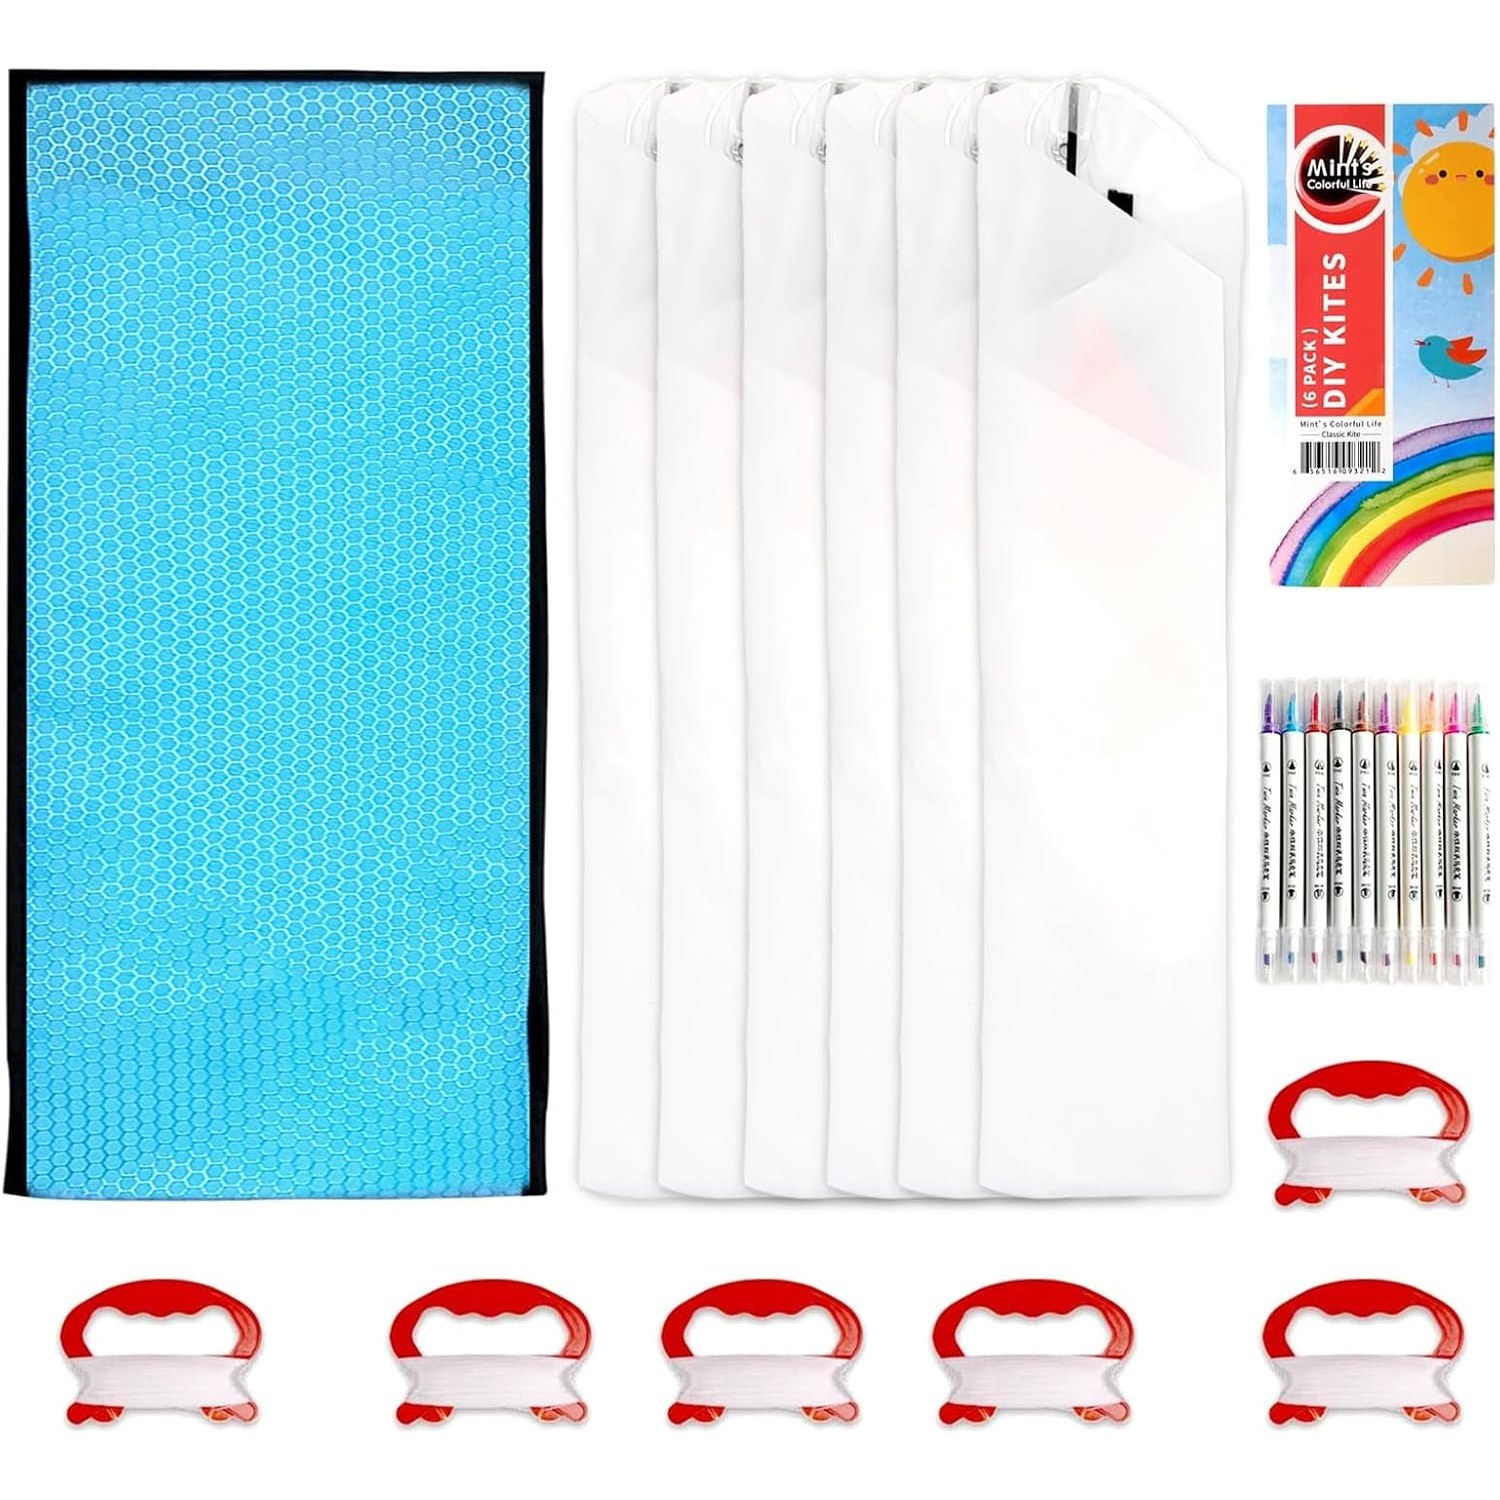
This kit leans on that. Six blank white diamond kites, markers, and stickers. The design work happens at a table and the payoff happens in a field, and the two halves are maybe an hour apart.
How a simple diamond kite actually works
A diamond kite is the oldest, plainest flying shape there is, and it stays popular because the physics are forgiving. Wind hits the angled sail, the sail pushes the air down and back, and the kite gets pushed up and back in return. The line stops it going backwards, so the only direction left is up.
The frame does the rest. Two spars cross behind the sail, one running top to bottom and one across, and they hold the shape against the pressure of the wind. If the frame is seated properly, the kite keeps its curve and flies straight. If a spar slips, the kite will spin or dive, which is almost always the cause when a kite "will not fly" on the first attempt.
Tails matter more than people expect. A ribbon tail adds drag at the bottom of the kite, which keeps the nose pointing up and stops the spinning. If your kite keeps rolling over in gusty wind, a longer tail is usually the fix, and light ribbon from a craft drawer works fine.
This is a single line kite, so there is nothing to steer. You let line out when it is pulling hard and climbing, and you pull line in when it starts to sink. That is the whole technique. A child can learn it in five minutes, which is the main reason a diamond is the best beginner kite for children.
Who this kit suits
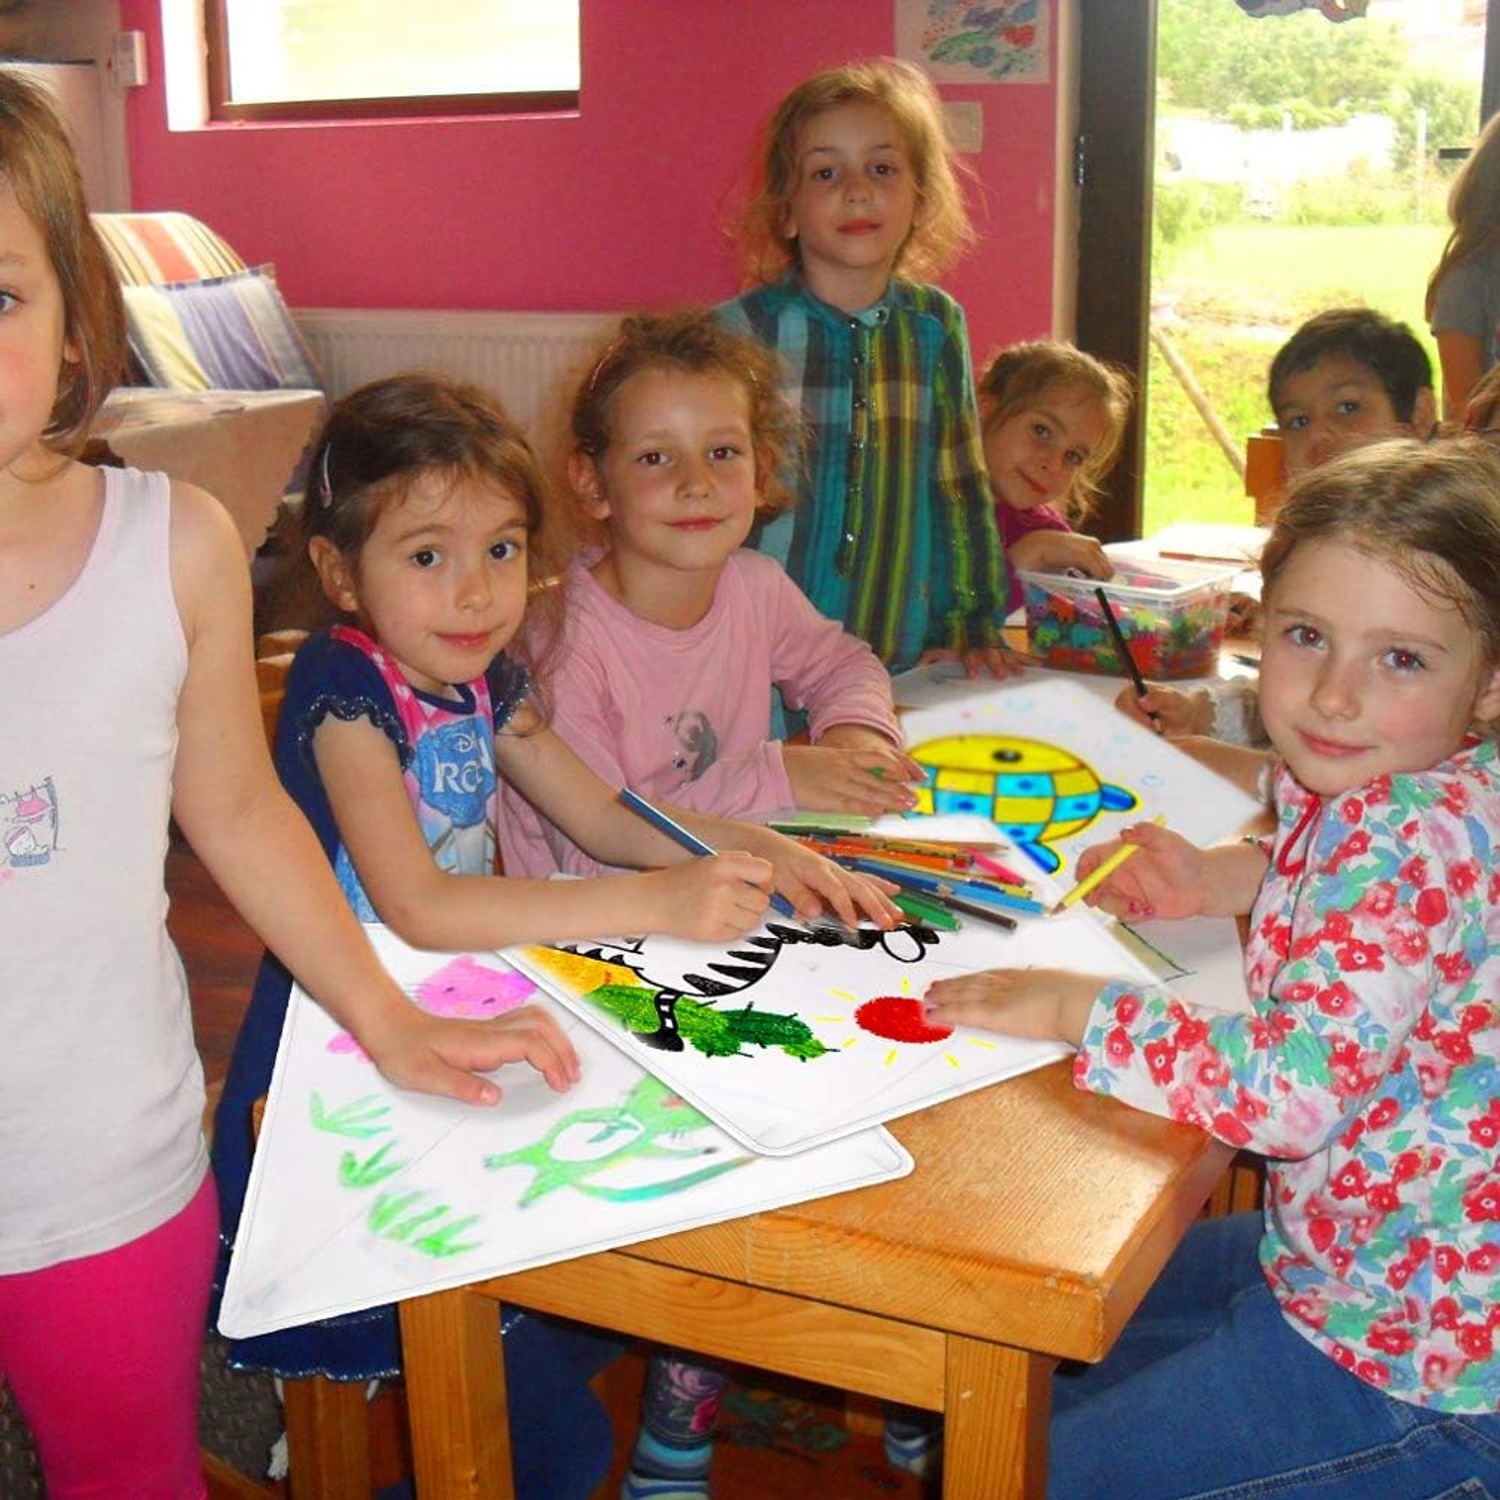
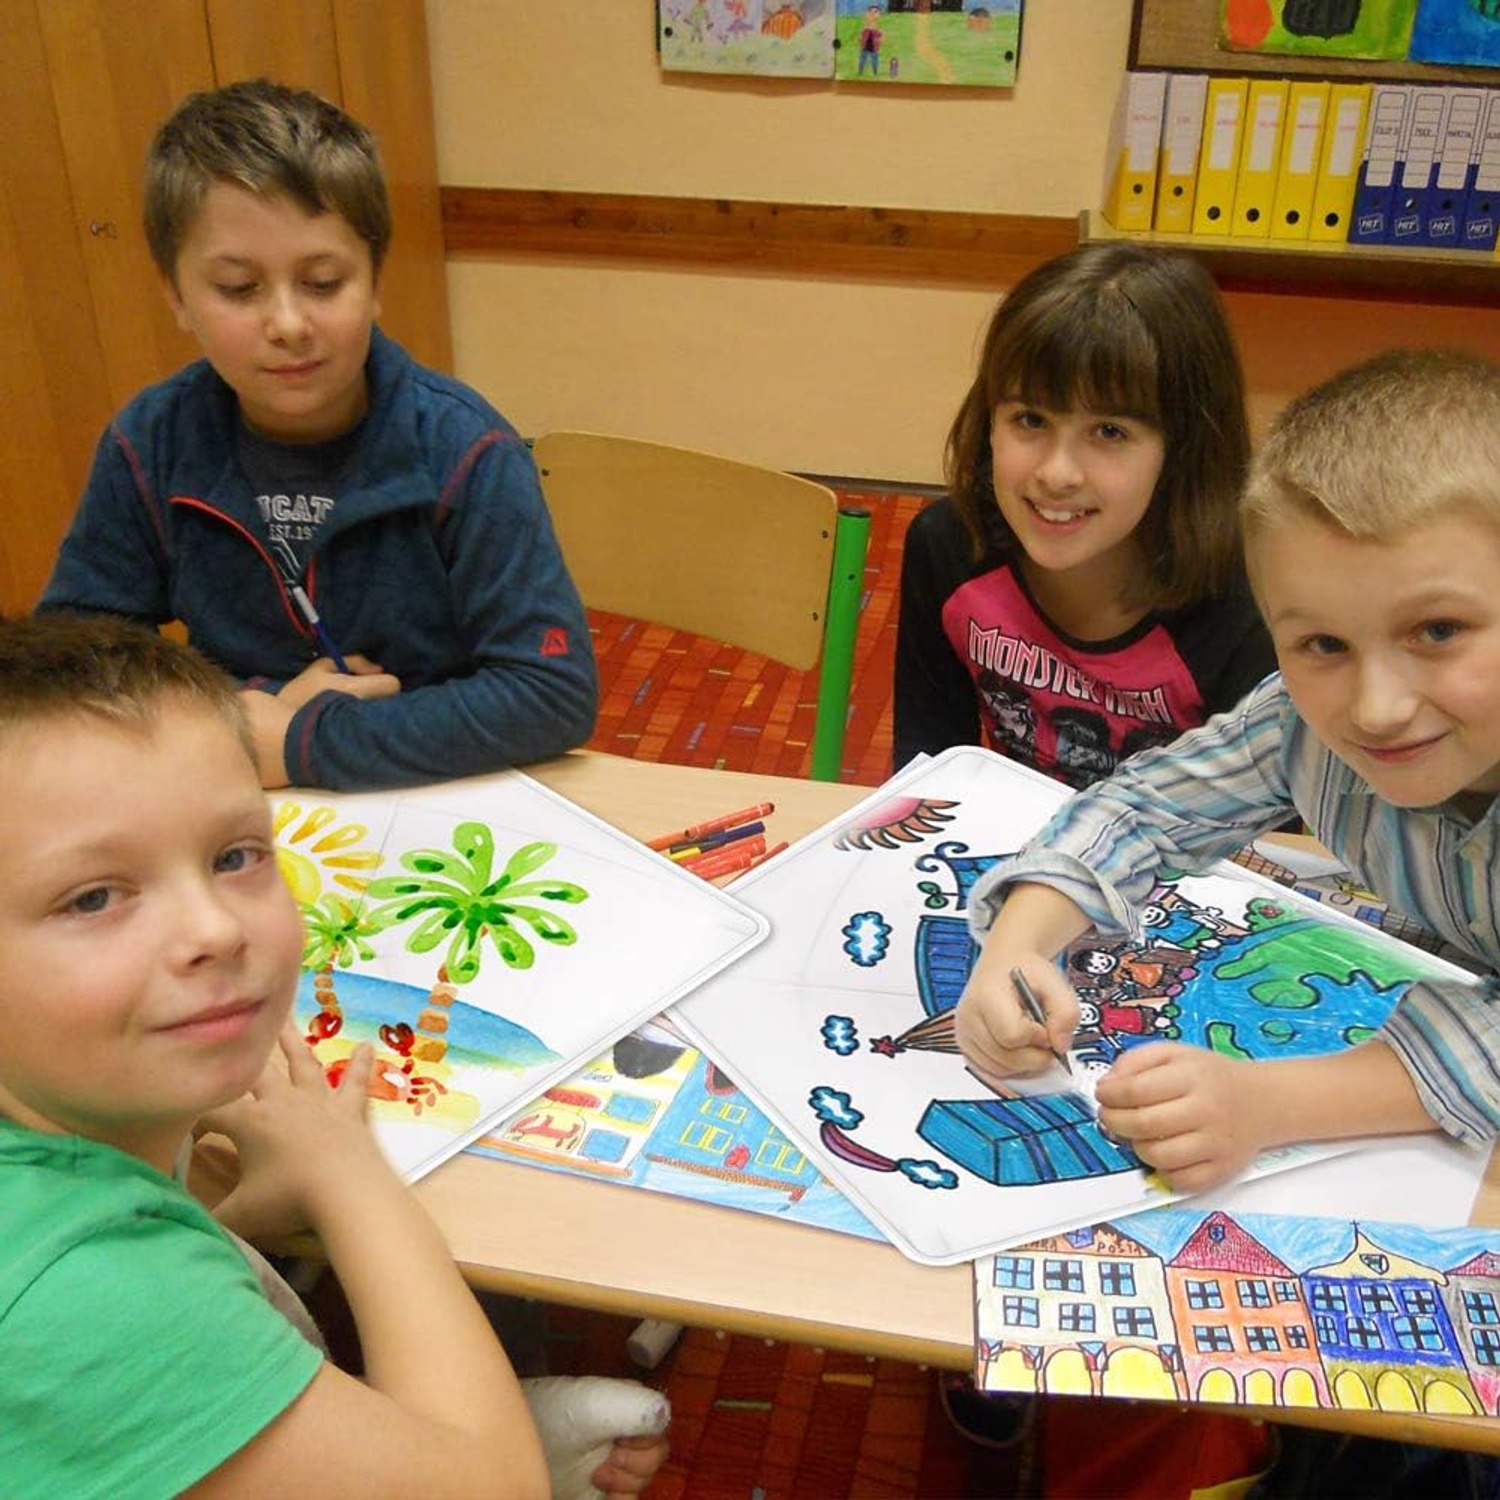
Parties. Six kites is not an accident. It covers a small party table, and it solves the awkward middle hour when the cake is gone and nobody knows what happens next. Children decorate, then everyone walks to the nearest open space. It is one of the best group activities for birthday parties because it has a natural start and a natural finish.
Classrooms and holiday programmes. Teachers tend to run it across two sessions. Art indoors, flying outdoors, and a bit of simple science in between about wind and lift. Larger classes just need more packs. At 299 g for the whole set, storage is not an issue.
Families on holiday. The flat 0.3 cm profile is the quiet selling point here. These lie inside a suitcase like a stack of magazines. Beach holidays suit them especially well because sea breezes are steady and open sand means no trees eating your kite.
Rainy weekends. You can split the activity. Decorate on the wet day, fly on the dry one. It is one of the better rainy day crafts precisely because it leaves something waiting for better weather.
Choosing a kite kit: what actually matters
Count. One kite for a group means queuing, and queuing kills the mood. If you are buying for more than one child, buy a multi pack. Six is a useful number because it covers most parties and most family groups with a spare.
Shape. Diamonds launch easiest. Deltas are also beginner friendly but need slightly more wind to settle. Box kites and stunt kites look impressive and frustrate beginners. For a first kite, stay with the diamond.
Line count. Single line for children, every time. Dual line stunt kites are a different hobby with a real learning curve, and handing one to a seven year old usually ends in a knotted mess.
Decorating medium. Markers beat paint on a thin sail. Paint adds weight, soaks through, and takes an hour to dry. Markers go on dry, stay put, and let a child finish and fly in the same afternoon. This kit is built around markers and includes them, along with stickers for anyone who would rather stick than draw.
Pack size. If it does not fold flat, it will not travel. Thin packs go on holiday. Boxy kites stay in the cupboard.
Getting the first flight right
Pick your spot before you pick your day. You want open ground with nothing tall upwind, so a park, a sports field, an empty beach. Trees and buildings churn the wind into rolling, unpredictable pockets, and a small kite in churning air behaves badly no matter who is holding it.
Check the wind with something simple. If leaves are moving and a flag is lifting but not snapping, that is about right. Dead calm will not lift a small diamond off the ground, and a strong gusty day will overpower it and break something.
For the launch, stand with your back to the wind. Hold the kite up at arm's length, let out a few metres of line, and let the wind take it rather than running. Running is the classic mistake, and it usually makes the kite loop and crash. If it climbs and then stalls, let out a little more line. If it dives, pull in gently to put tension back on.
Keep an eye on the surroundings. Power lines, roads and other people's kite lines are the three things to stay clear of. Never fly near overhead cables, and never fly in a thunderstorm.
Looking after them afterwards
Let the markers dry fully before the first flight so the artwork does not smear across the sail. After a beach session, brush off the sand with a dry cloth rather than rinsing, since a wet sail is heavier and slower to launch next time.
Store the kites dry, flat or loosely rolled, somewhere cool. Do not leave them folded under heavy things, because creases weaken the sail along the fold line. Before each outing, run a hand over the frame and down the line, checking for cracks, bends or fraying. Thirty seconds of checking saves a ruined afternoon.
If a sail tears, clear tape on both faces usually holds well enough for plenty more flights. With six kites in the pack, you always have one flying while another is being patched.
A note on what we know and what we do not
The specification table on this page comes from the manufacturer's own product details, which is why some fields are empty. The sail material is not specified by the maker, and neither is the country of origin, so we have left both blank rather than filling them with a guess. We would rather have a gap than a sentence that turns out to be wrong. Everything listed, the six count, the 63.5 x 63.5 x 0.3 cm size, the 299 g weight, the white colour, the markers and the stickers, comes straight from the maker's details.
The short version
Six blank diamond kites, markers and stickers in one flat, light box. The decorating takes half an hour at a table, the flying takes an afternoon, and the whole thing packs down small enough to take on holiday.
If you need an activity that works for a group, holds attention indoors and then gets everyone outside, this does both jobs with no batteries and no screen. Pick a breezy day, find some open ground, and let them draw whatever they want on the sail. That is the entire point.