
The complete guide
Choosing a First Sewing Kit for Kids, Without the Tears
The problem with most first craft kits
Buy a child a sewing kit and you usually end up doing the sewing. The needle is too fine for small fingers. The fabric is loose, so the stitches wander. There is no line to follow, so the child guesses, the shape goes crooked, and twenty minutes later someone is upset and you are holding a half-stitched square of felt.
It is not a motivation problem. It is a design problem. Plenty of craft kits are made for adults who already know what a running stitch is and get sold to parents of five year olds anyway.
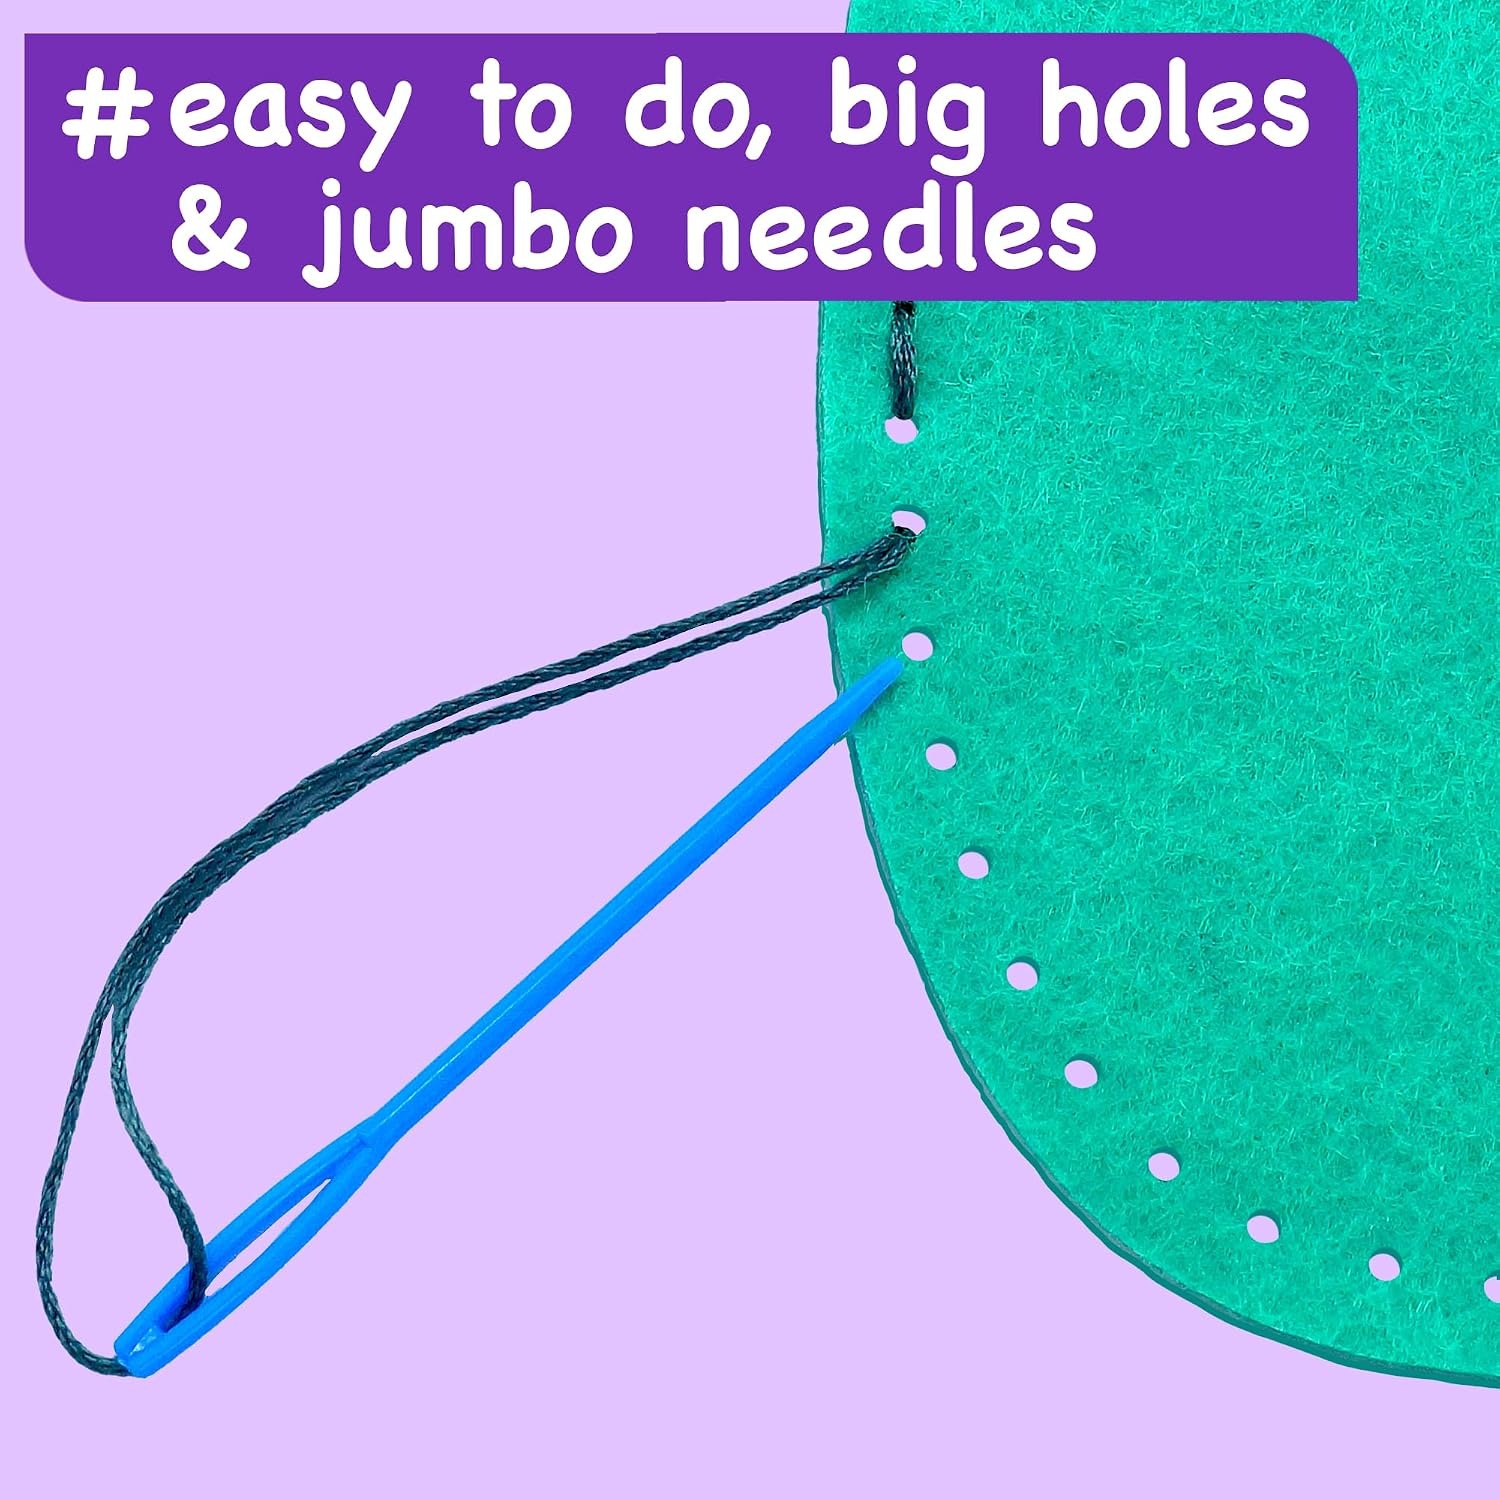
The way around it is to remove the parts that need skill the child does not have yet, and keep the parts that feel good. Pre-cut shapes mean nobody has to cut a curve freehand. Pre-punched holes mean the needle has somewhere obvious to go. A thick plastic needle means small hands can grip it and push it through without any real risk. What is left is the bit children actually enjoy, which is watching a flat piece of felt turn into an animal they can hold.
How this kit works
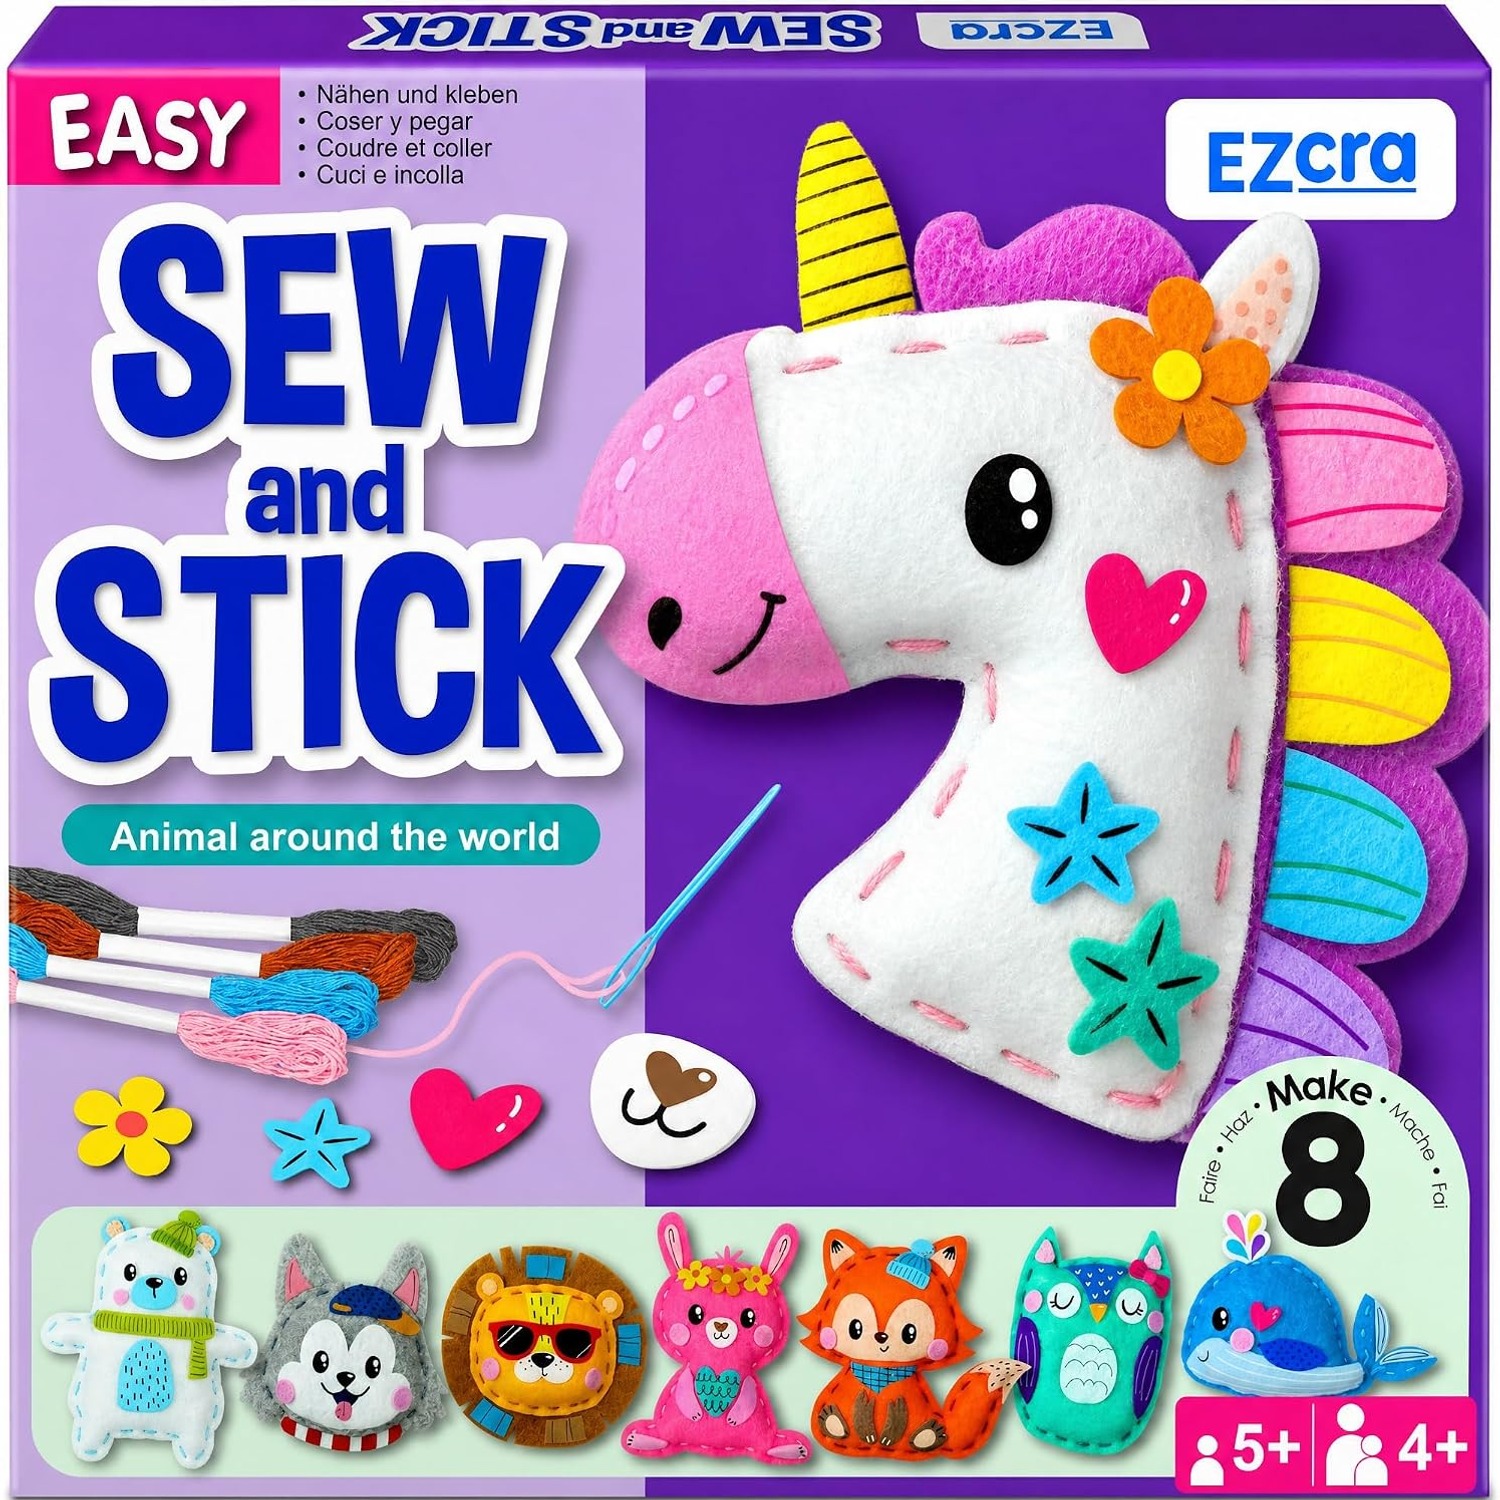
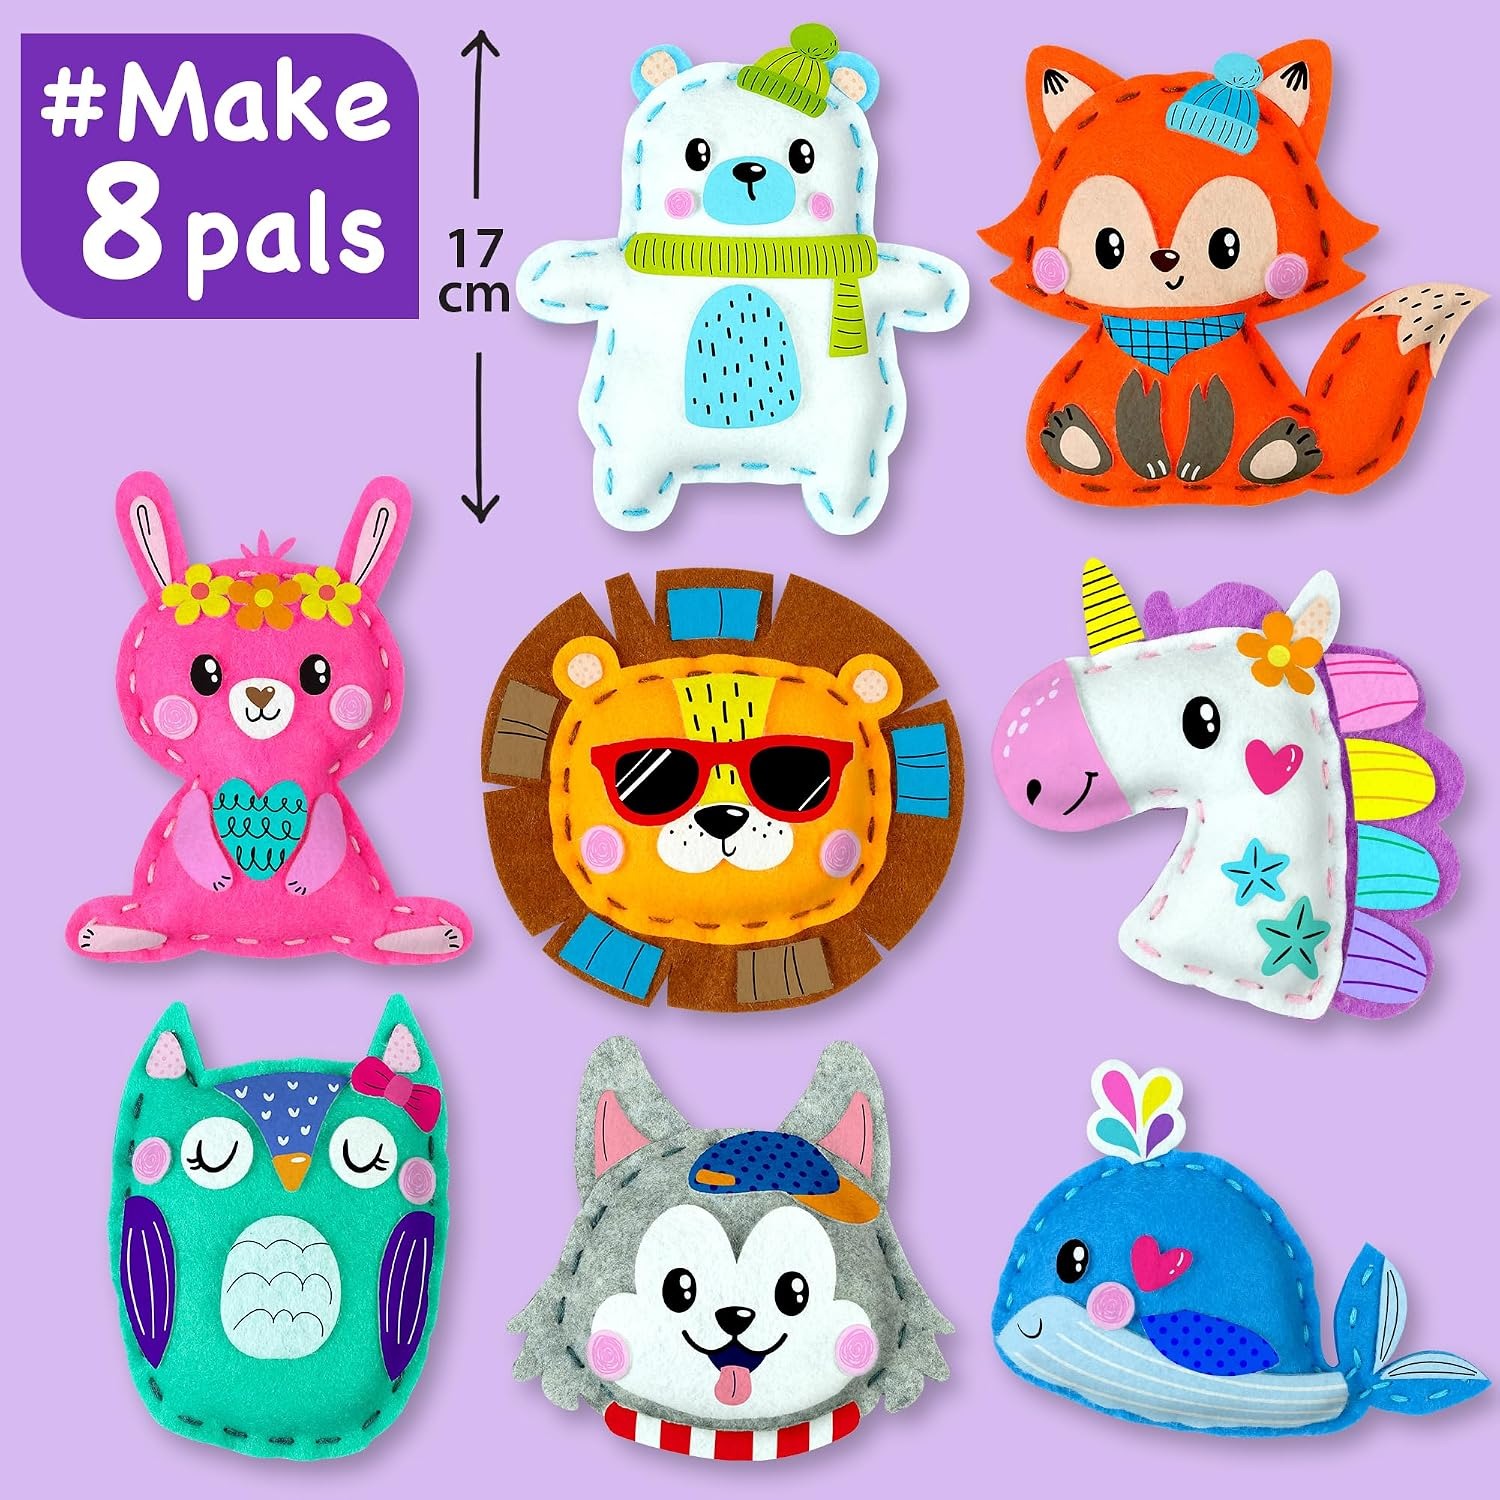
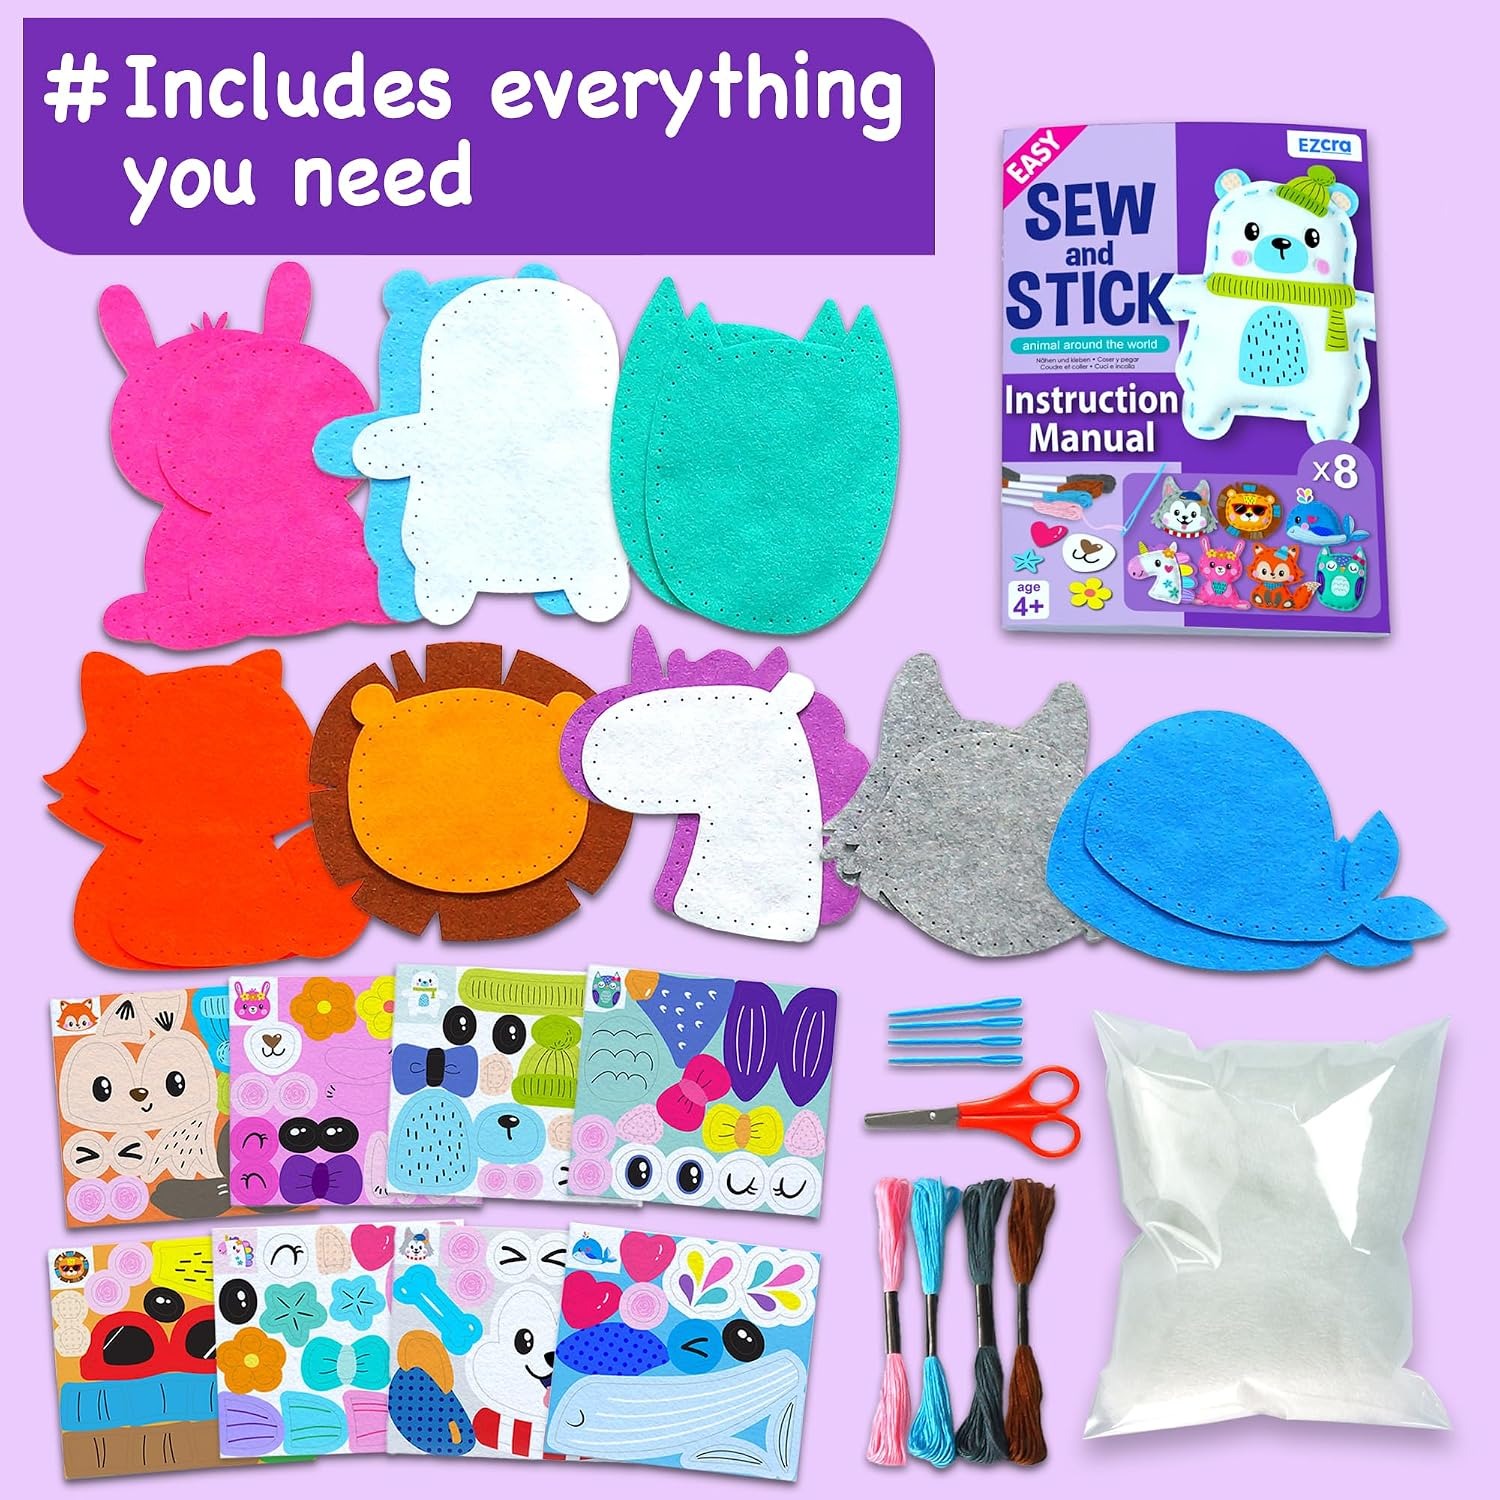
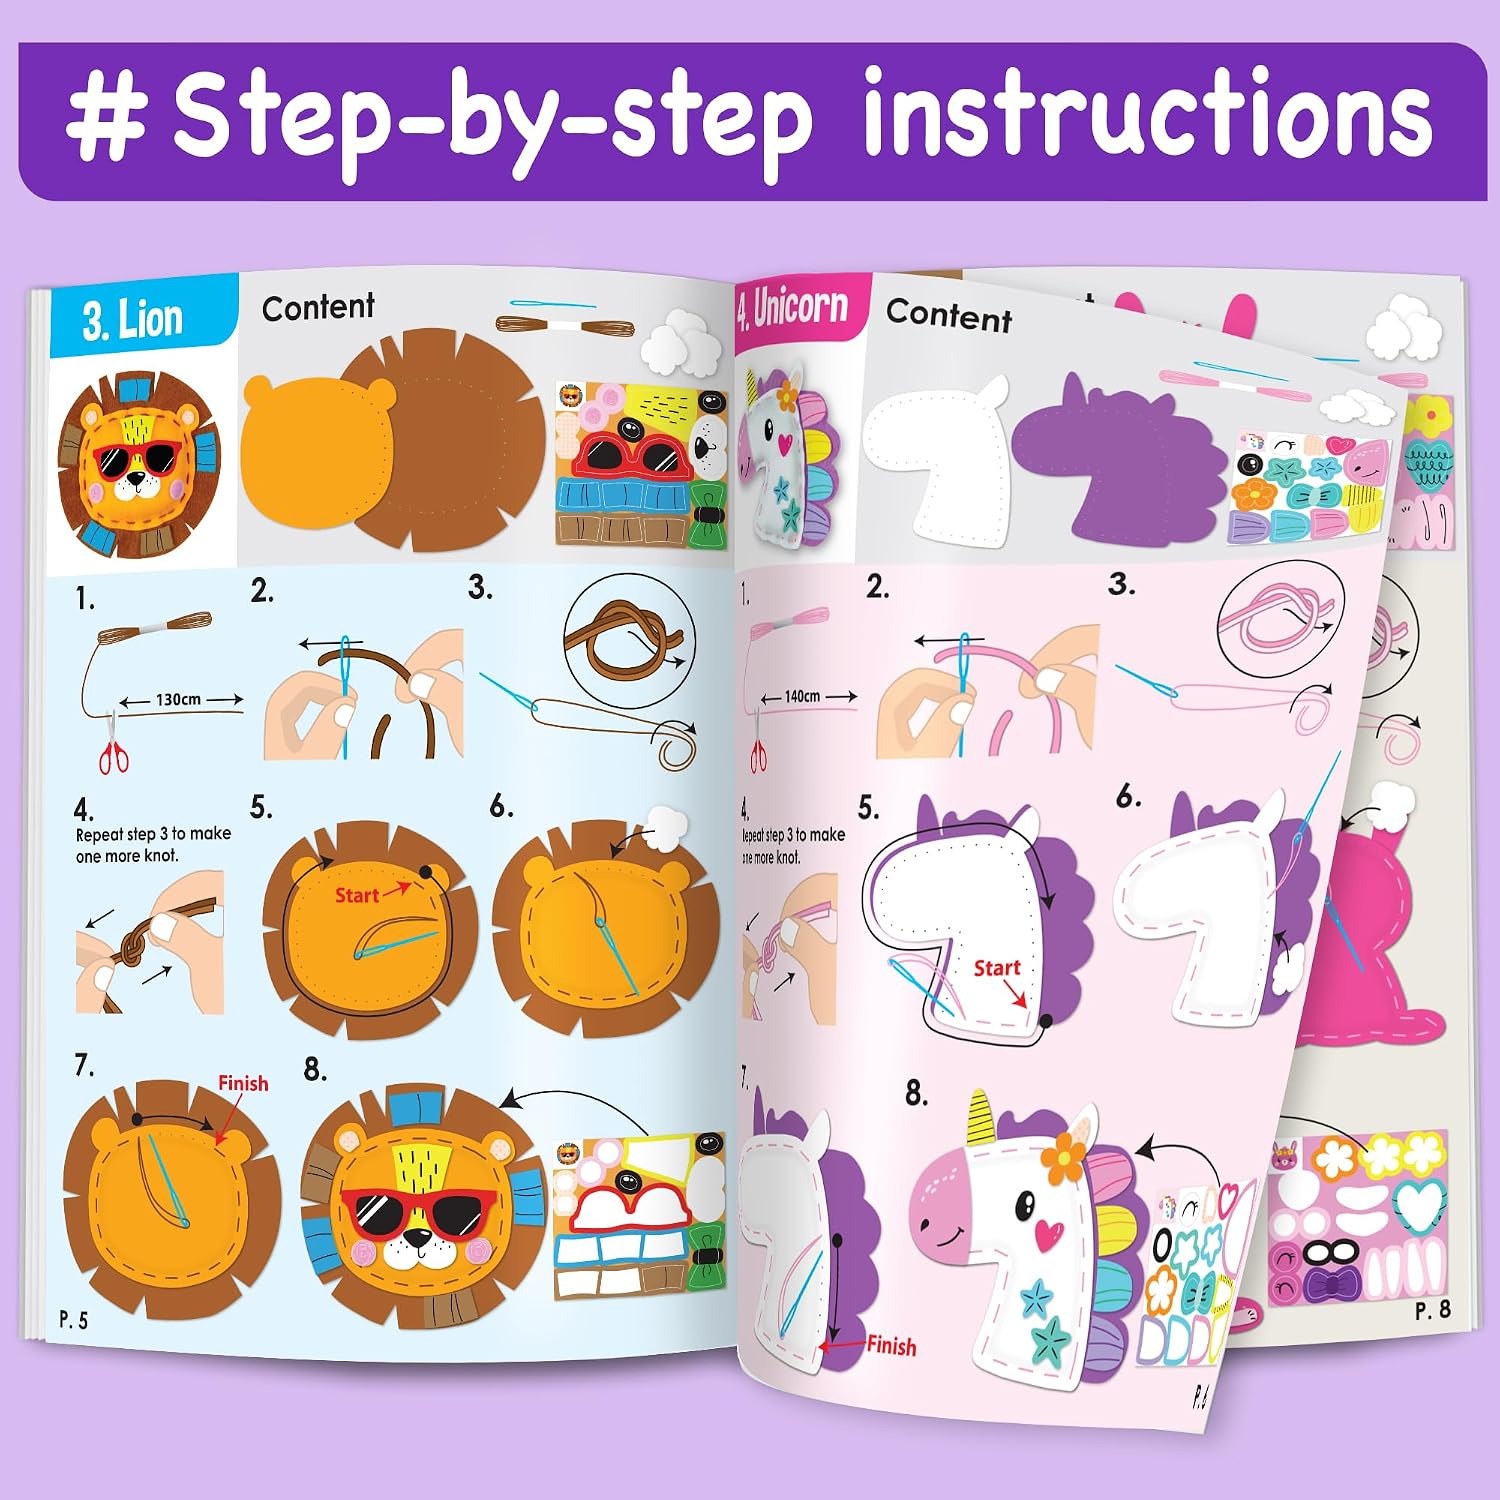
The box holds eight animal projects, among them a unicorn and a bunny. Each project arrives as pre-cut felt with stitch holes already punched around the edge. A child threads the jumbo plastic needle, starts at one hole, and works their way around. There is no measuring and no marking out. The line is already there.
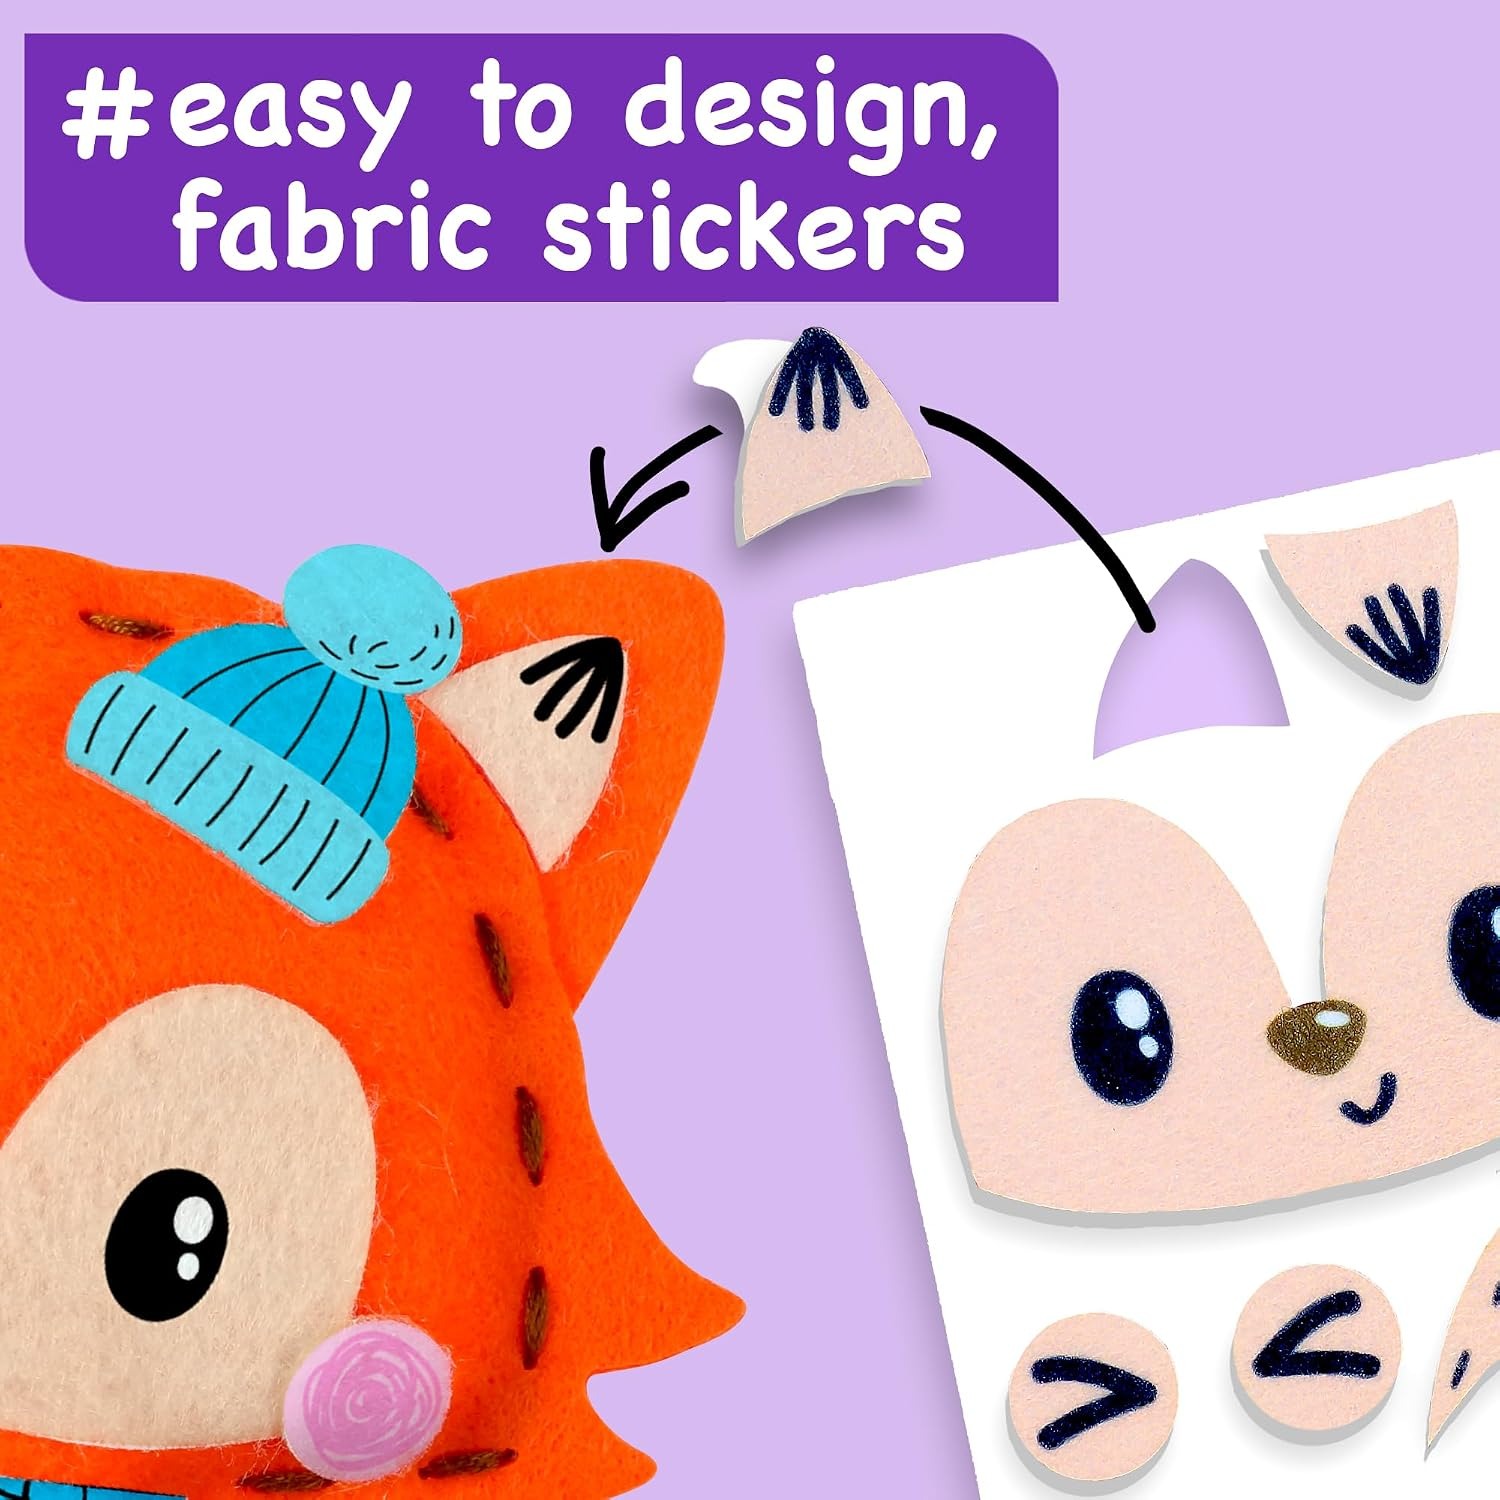
Once the sewing is done, the second half begins. Eight sets of decorative stickers come with the kit, so each animal gets finished differently depending on who is doing it. This is the part that keeps children coming back. Sewing is satisfying but repetitive. Decorating is open-ended, and it is where personality shows up. Two kids with the same unicorn will hand you two different unicorns.
Safety scissors are included for trimming thread and any small adjustments. Most of the cutting is already done, so the scissors are a support tool rather than the main event.
The kit comes in a slim box, 20.3 x 15.2 x 1.3 cm, weighing 0.27 kg. That is small enough to live in a cupboard without taking over, and light enough to post as a gift.
Who it suits
The suggested age range is 4 to 8. That is a wide band, and children at either end use it differently.
A four or five year old will want an adult nearby. Threading the first needle usually needs help, and so does the first few stitches while they work out the rhythm of in, pull, turn, in again. After the first animal, many of them carry on alone. The pre-punched holes are doing a lot of quiet teaching.
A seven or eight year old can generally take the box and get on with it. For them, the interesting bit is the decorating and the idea that they made something that did not exist that morning. They often finish two or three animals in an afternoon.
It also works for children who find busy craft activities overwhelming. There is one clear task at a time, it is repetitive in a calming way, and the end point is obvious. For a child who needs structure, that is a feature rather than a limitation.
It is not suitable for children under three, because of the small parts. Keep the stickers and needles out of reach of children under 3 in the house.
What to look for in a beginner sewing craft kit
If you are comparing options, a few things separate the kits that get finished from the kits that get abandoned.
Pre-punched holes. This is the single biggest factor. Without them, a beginner has to judge spacing by eye while also managing the needle and the thread. With them, the child only has to manage one thing. Any kit marketed as a best learn to sew kit for kids should have them.
Needle type. Plastic needles with a blunt tip and a large eye are much easier to thread and much safer to drop. Fine metal needles belong in a kit for older children.
Project length. Short projects beat long ones for anyone under about nine. A set of eight small animals gives eight finishes. One large project gives one finish, and only if they get that far.
Everything in the box. A kit that needs you to supply thread or scissors is a kit that sits in the cupboard until you remember to buy them. This one includes the needles and the safety scissors.
Cleanup. No paint and no glue means no protective sheet on the table and no drying time. If you want the best rainy day craft kit for a flat you cannot afford to redecorate, felt is a sensible material.
Setting up a good first session
A little preparation makes a real difference.
Pick a surface with good light and no slope, so pieces do not slide. A dining table works better than a sofa or a car seat, at least for the first attempt. Put the loose stickers and spare pieces in a shallow bowl or the box lid so they do not scatter.
Choose a simple shape first. Save the unicorn for the second or third project, once the stitching is steady. Children like saving the favourite for later anyway.
Thread the needle for them the first time and leave a generous tail. Show one stitch, then hand it over and sit back. Resist the urge to correct wobbly stitches. A slightly uneven first animal is a record of them learning, and the second one is always neater without anyone pointing anything out.
Keep the session short. Twenty minutes of genuine interest is better than an hour that ends badly. Eight projects means there is no reason to rush.
Looking after the kit and the finished pieces
Between sessions, everything goes back in the box, including the needles. That one habit prevents most lost pieces and keeps sharp-ish things off the floor.
Store the box flat and dry, out of direct sunlight. Strong sun fades felt over months and dries out sticker adhesive, so a shelf or a drawer is better than a windowsill.
Finished animals handle gently. Wipe the surface with a slightly damp cloth and let them air dry flat. Skip the washing machine, the dryer and the iron. Heat and tumbling will distort the felt and lift the stickers.
If a child wants to redo their first animal after seeing how much better the later ones look, let them unpick it. That is a good sign, and it costs nothing.
Using it as a gift
This works as a present because it arrives complete. There is nothing to buy before the child can start, which matters if the gift is being opened at a birthday party or on a holiday morning. The box is slim and light, so it posts well and wraps easily.
If you are a grandparent, a kit like this is worth keeping at your house rather than sending home. It gives you a shared activity ready to go, and it is quiet enough to do across a kitchen table while you talk.
For a child who already enjoys making things, consider pairing it with a small storage tin for their finished animals. They tend to accumulate.
The short version
A first sewing kit succeeds or fails on how much of the hard work is already done. This one has the felt cut, the holes punched, the needles blunted and the stickers ready, which leaves the child with the satisfying part and almost none of the frustrating part. Eight small projects mean eight finishes rather than one long slog, and the decorating step keeps it interesting after the stitching becomes easy.
It suits roughly 4 to 8 year olds, with more adult involvement at the younger end. It makes no mess, packs back into a 20.3 x 15.2 x 1.3 cm box, and weighs almost nothing, so it travels and stores without fuss.
If you want a quiet, screen-free activity that ends with something your child can hold up and show you, this is a straightforward way to get there.