
The complete guide
Loom Bands for Beginners, What Parents Should Know
Why loom bands keep coming back
Every few years loom bands sweep through the playground again. One child turns up with bracelets stacked to the elbow, and by Friday half the class wants to know how it is done.
The appeal is easy to see. The bands are bright and there are lots of them. A finished bracelet can be worn or given away. And the skill travels: once a child knows a pattern, they teach it to a friend at lunch.
The catch for parents is running out. A small packet of bands disappears in an afternoon, and the one hook in the house gets fought over. A bigger kit like this one is mostly about heading off those arguments.
What is in this kit
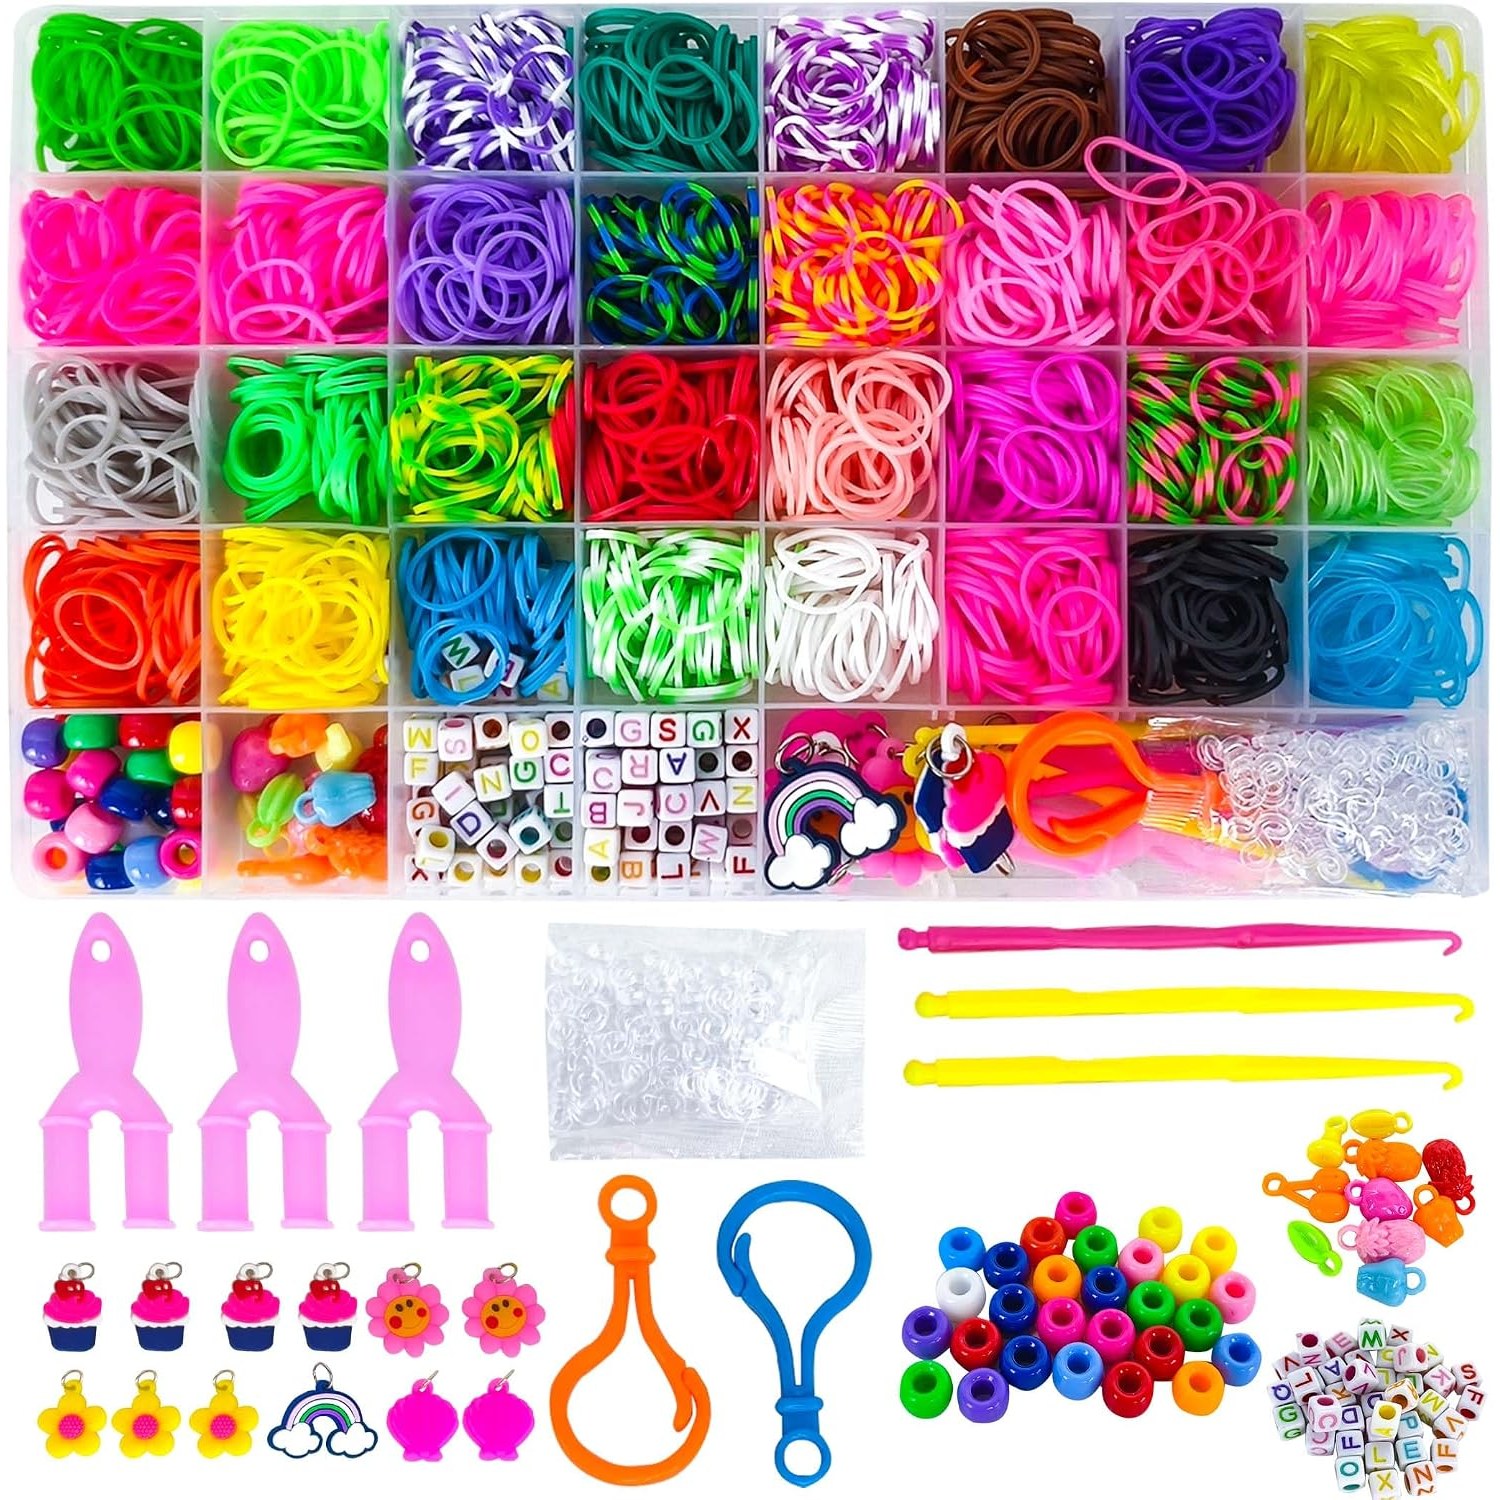
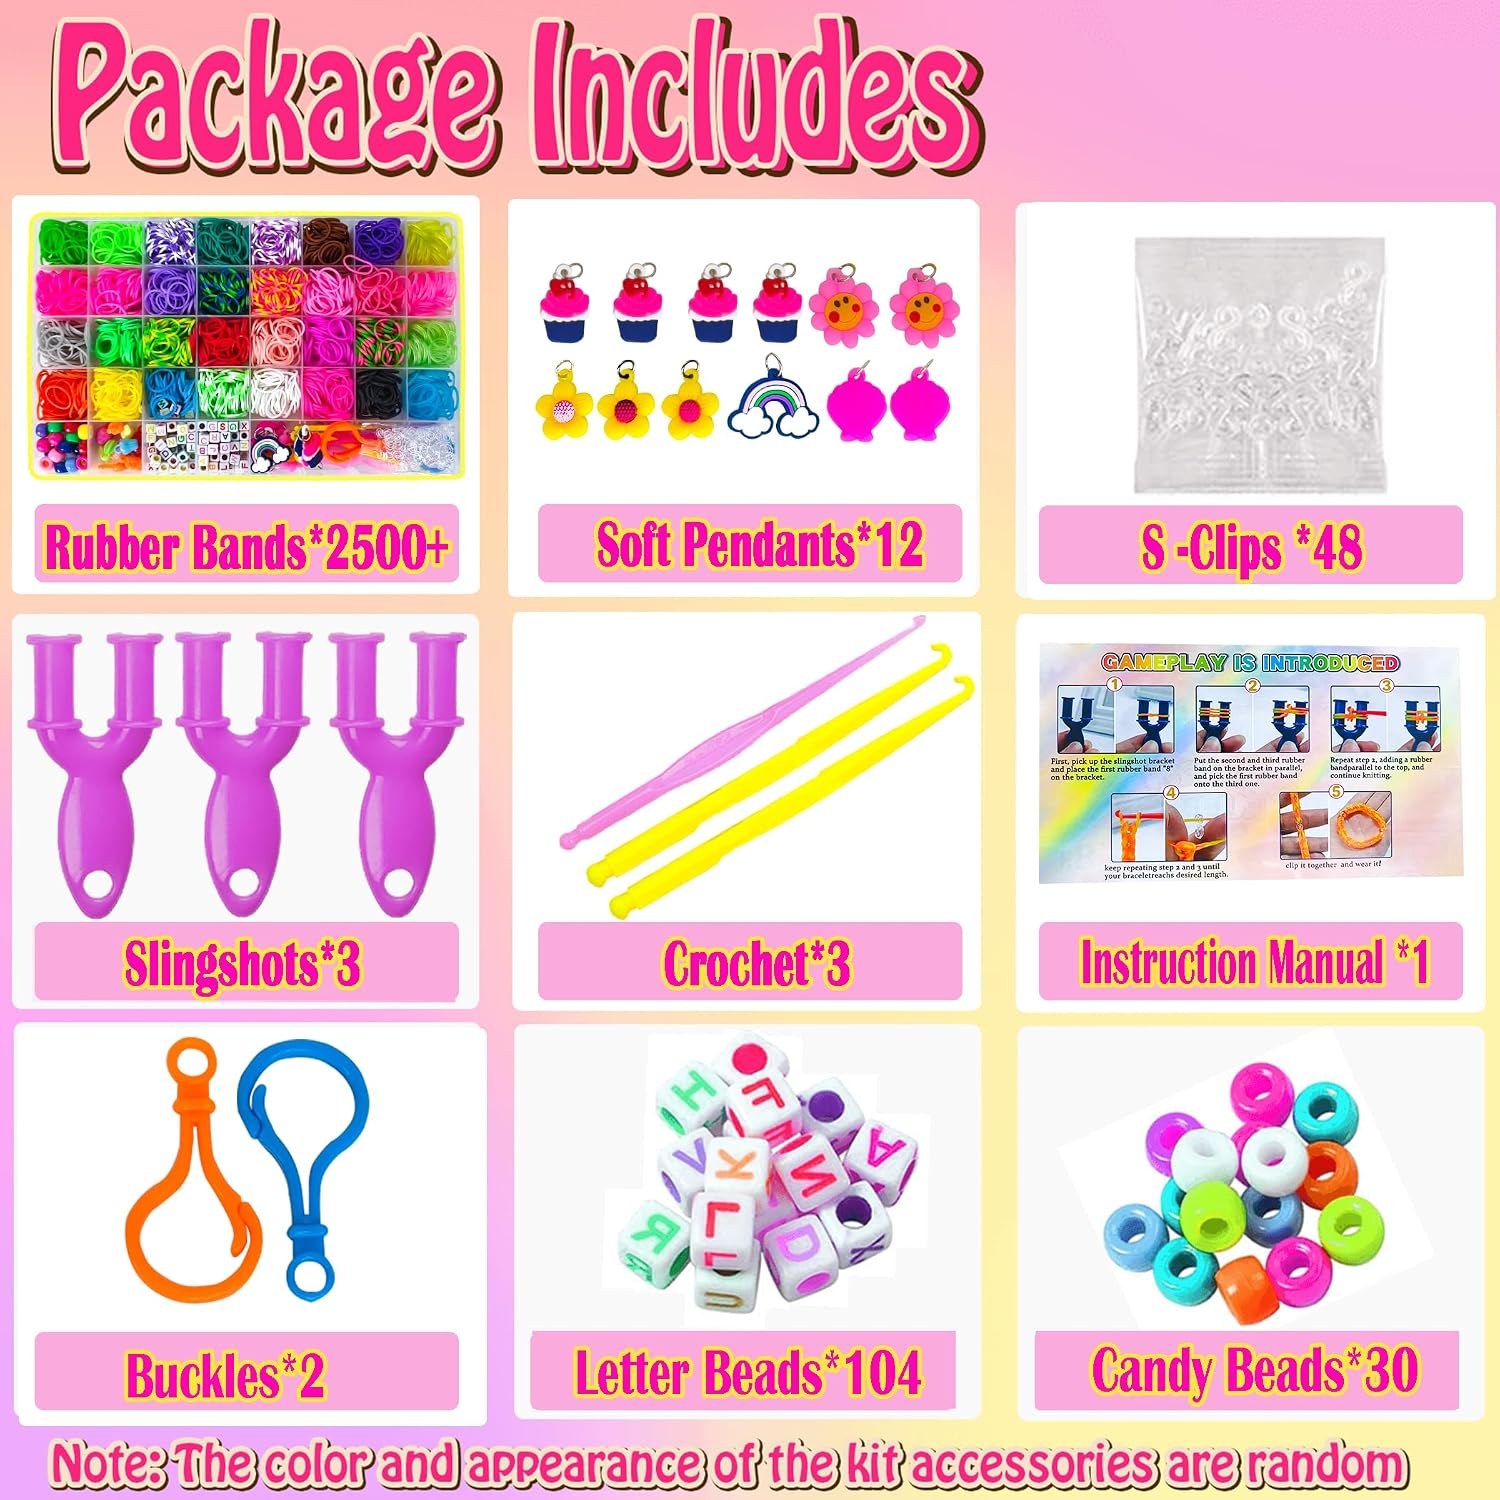
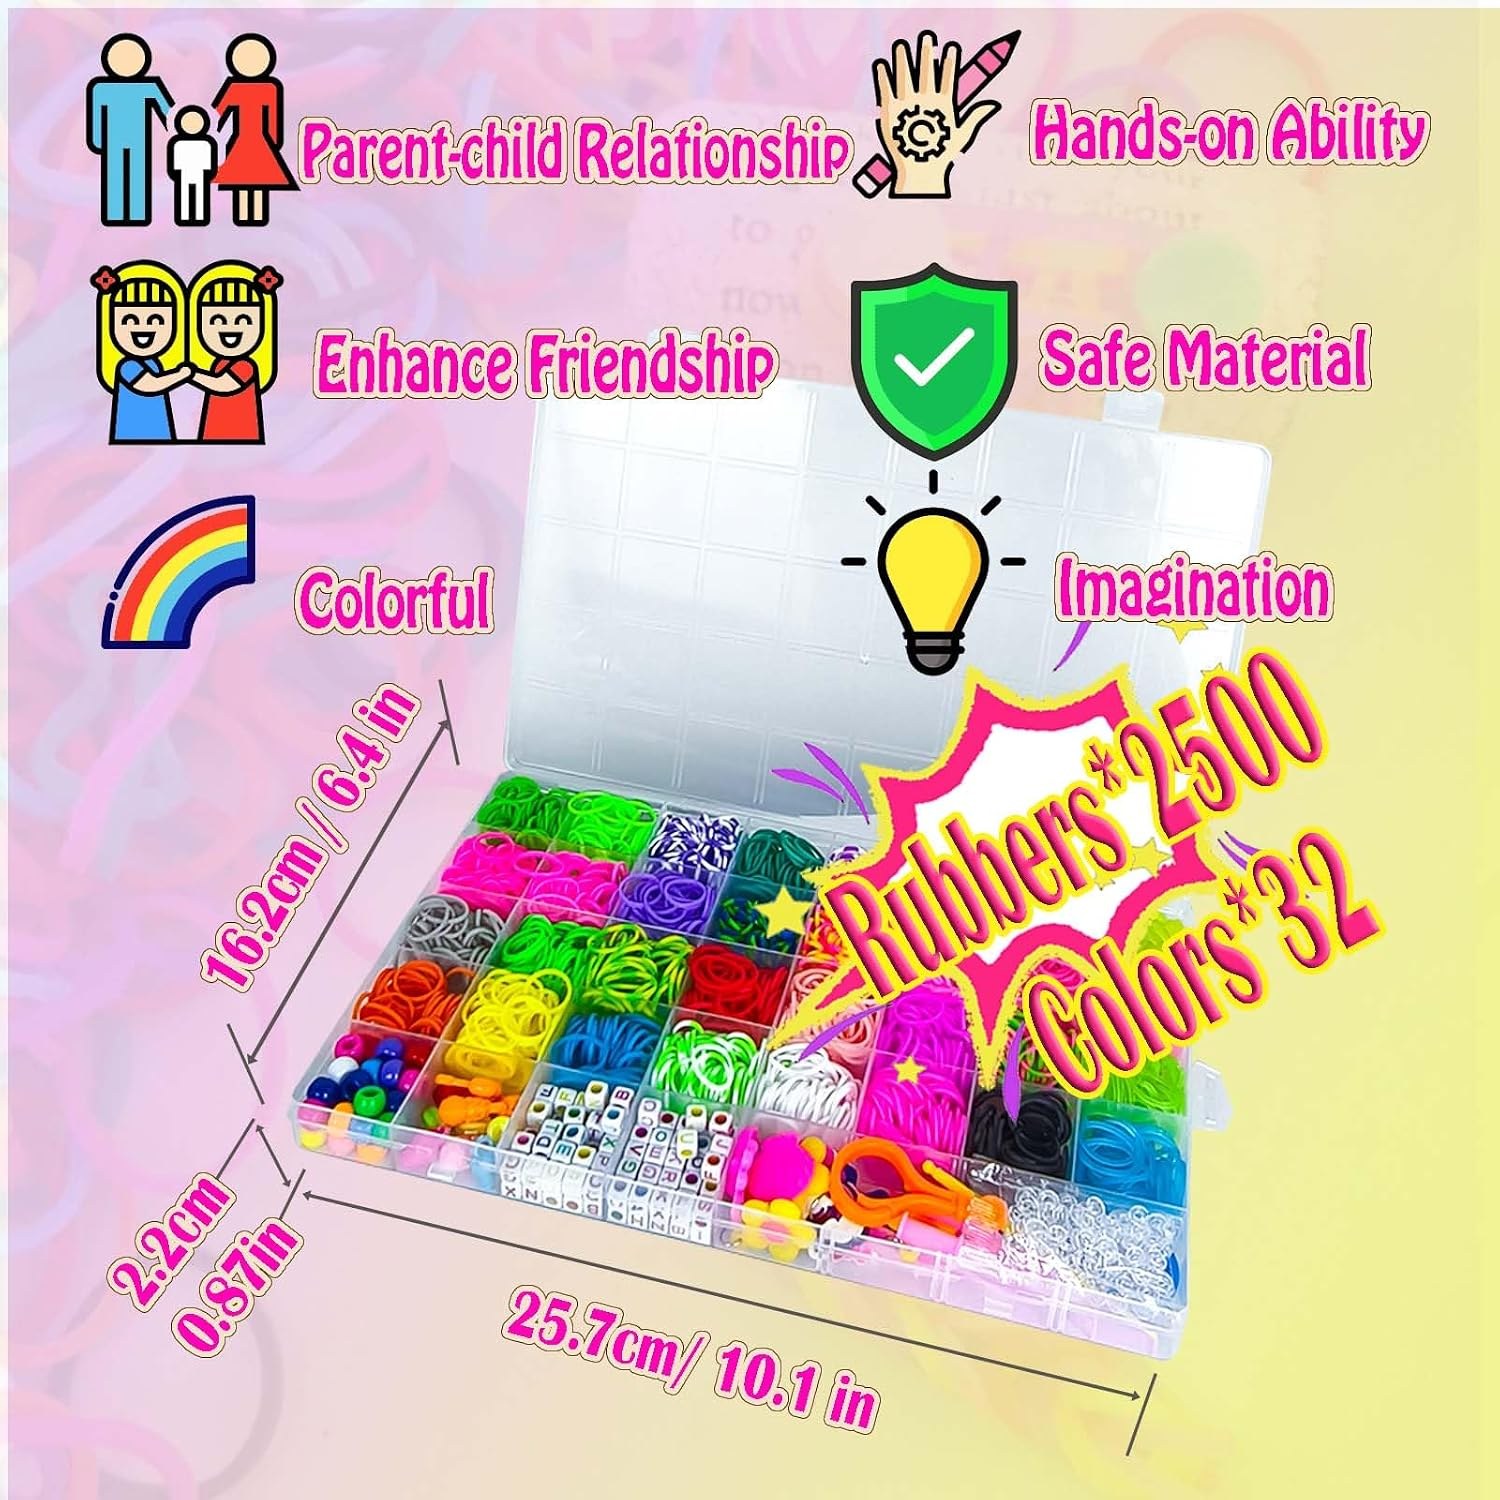
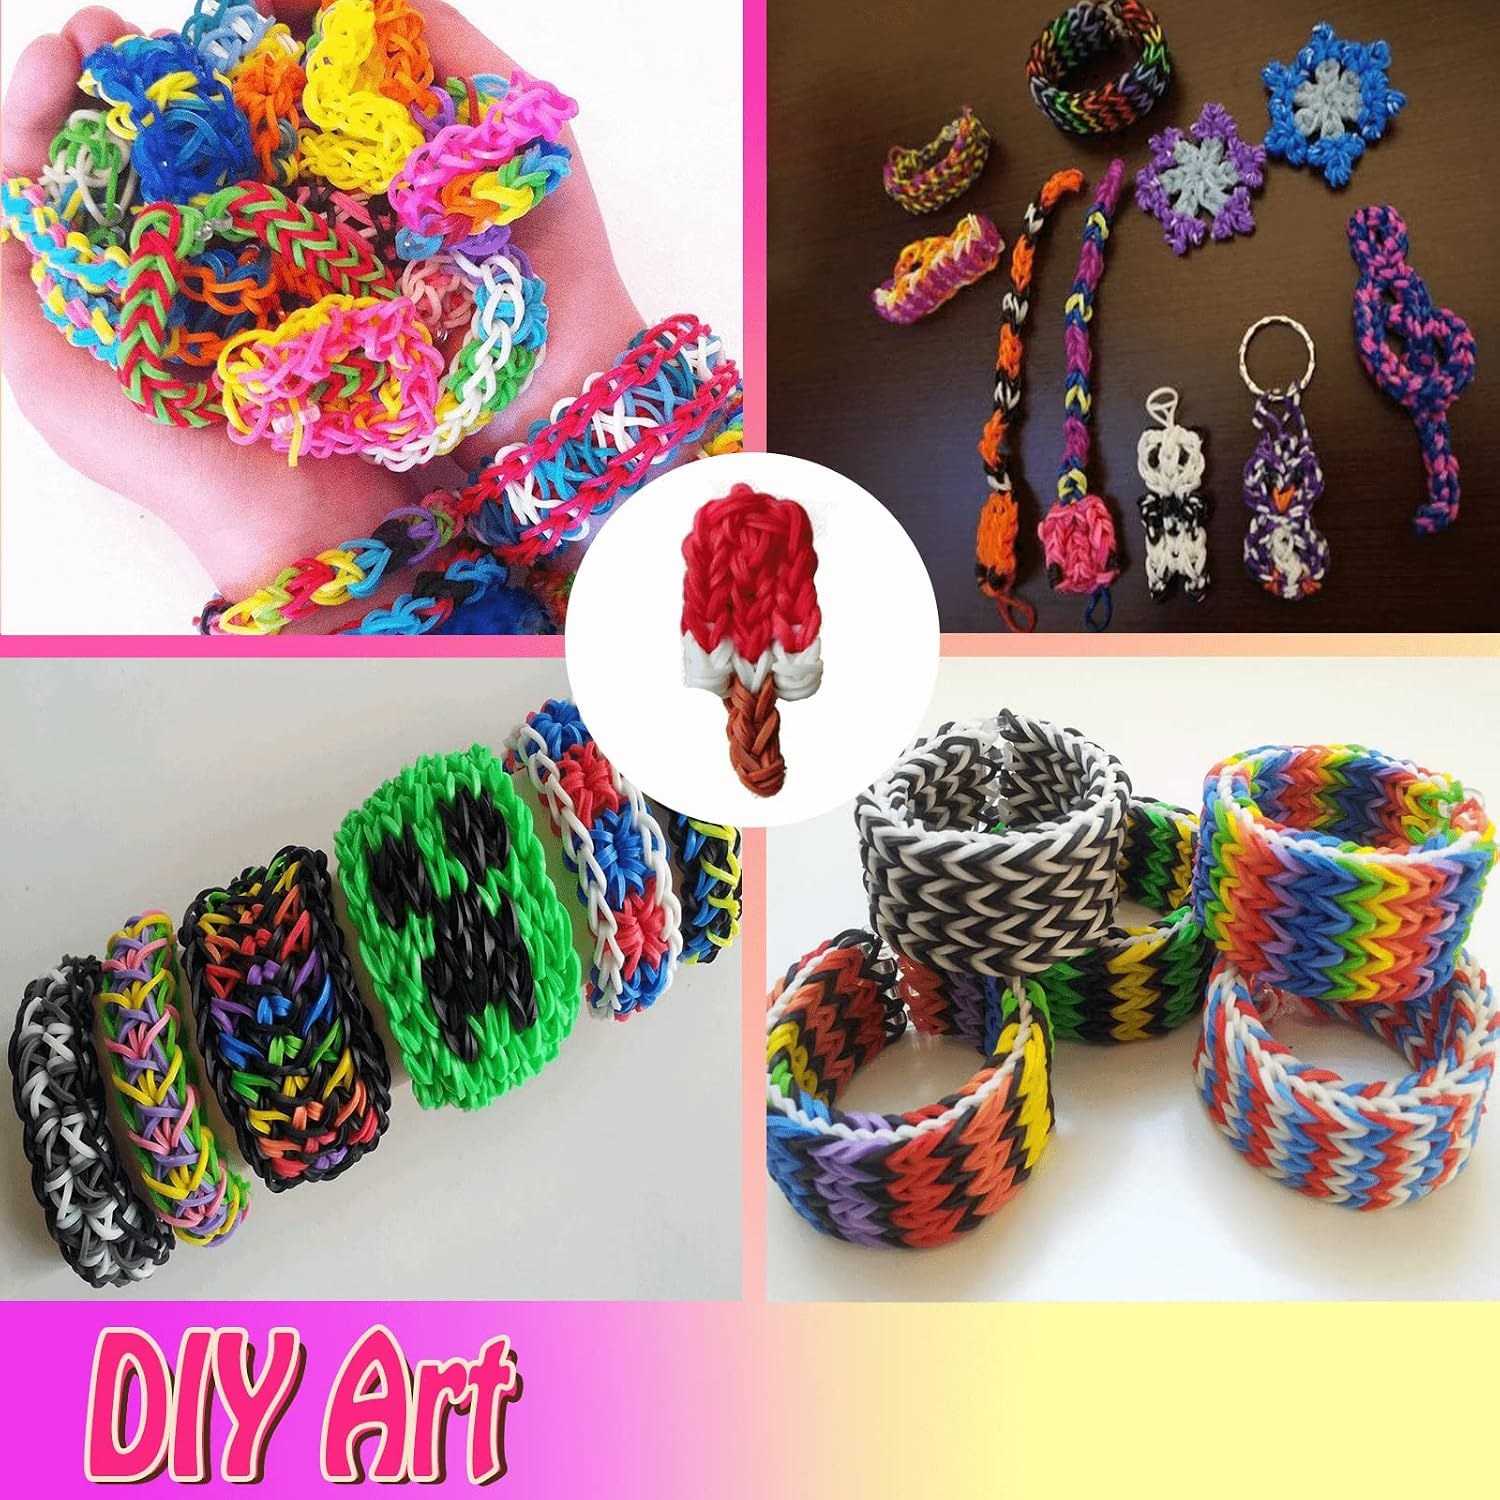
The maker lists more than 2,500 rubber bands in 32 colours. Alongside the bands you get 48 S-clips, 104 letter beads, 30 candy beads, 12 soft pendants, 2 crochet hooks, 3 slingshots, 2 buckles and an instruction manual.
A few of those need translating if you are new to this.
S-clips are the tiny S-shaped fasteners that join the two ends of a bracelet. The crochet hooks are for lifting one band over another, which is the basic move in nearly every pattern. The slingshots are small forked looms held in the hand, used in place of a big peg board. The maker does not explain what the two buckles are for, so check the manual when it arrives.
The maker adds a note worth knowing before the parcel is opened. The shapes and colours of the accessories are random and may not match the photos, but the quantities stay the same. So you will get 12 pendants, just maybe not the 12 in the picture. The same goes for the letter beads, which means there is no promise that a particular name can be spelled.
The whole kit measures 26 x 16 x 2.3 cm and weighs 0.38 kg. The maker does not state how many bands there are of each colour, how big the bands are, or how the kit is packed inside.
How a loom band bracelet is made
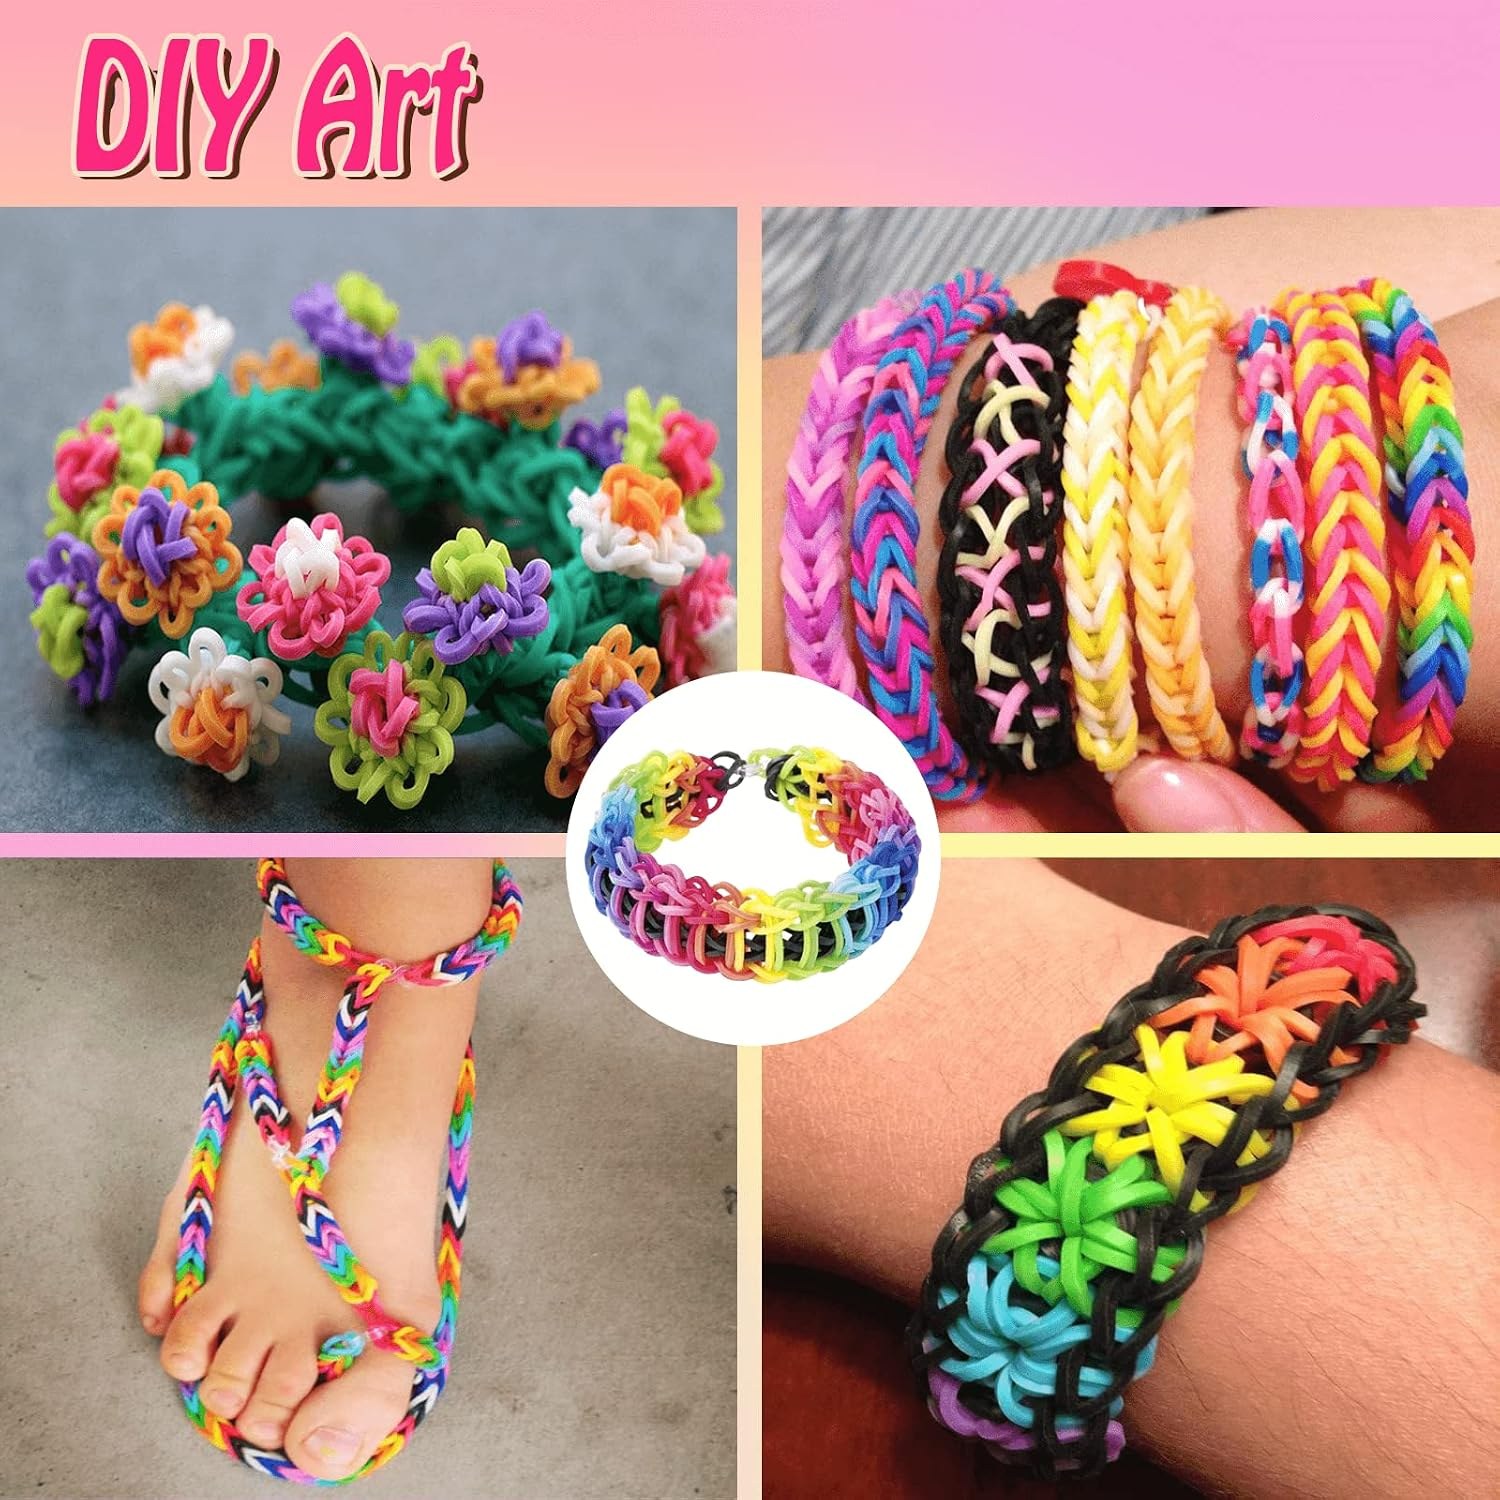
The simplest bracelet is a chain. One band loops through the next, over and over, until the chain is long enough to go around a wrist. An S-clip closes it.
That basic chain can be made on a slingshot loom, with a hook alone, or on two fingers. The maker lists finger art among the uses for the kit. If your child is using fingers, keep the bands loose and take them off as soon as the bracelet is done.
From there, patterns get wider and more involved. Beads can be threaded onto a band before it is looped in, which is where the letter beads and candy beads earn their keep. A soft pendant can hang from the finished chain.
The manual in the box covers getting started. For more styles, the maker suggests looking up video tutorials online. That is fair advice, because this is a craft most children pick up by watching someone else's hands.
The maker also mentions necklaces and bag pendants as things to make once bracelets get old. A necklace is a longer chain, so it is an easy second project.
Who it suits
The maker markets this kit as a gift for children aged 3 to 10, and the age range in the product details simply says kid. It also carries a clear warning: choking hazard, not for children under 3 years.
Here is how that tends to play out at home. Children at the younger end enjoy sorting colours and threading beads, but they will need a grown-up doing the looping with them. The bands, beads and clips are all small, so it is a sit-together activity at that age, and an adult should supervise throughout.
From early primary school, many children can manage a chain alone after being shown a few times. Older kids are the ones who chase new patterns and start taking orders from friends.
If there is a child under 3 in the house, or a pet that chews, decide where the kit will live before it arrives. Small bands on the floor are easy to miss.
What to look for in a bracelet making kit
Enough clips. Bands are rarely the limit. Clips are. Each basic bracelet needs one, and this kit has 48.
More than one hook. A single hook means one child works while another waits. Two hooks and three hand looms mean siblings or friends can make at the same time.
Extras that change the result. Plain bands make plain bracelets. Letter beads let a child spell a word, and a pendant gives a finished piece a centre. This kit has 104 letter beads, 30 candy beads and 12 pendants, with the random-mix caveat above.
Clear material information. The maker lists the material as rubber and describes the bands as stretchy, soft and durable, with no odour. What is not stated is whether the rubber contains latex. If anyone in your family has a latex allergy, treat that as an open question and ask us before you order.
Instructions. A printed manual matters for the first session, before anyone goes hunting for videos.
Setting up a calm first session
Tip nothing out. That is the first rule. Work from the kit as it comes and take out a few colours at a time.
A tray with a lip, or a baking dish, keeps runaway bands on the table. A light-coloured tea towel underneath stops beads from rolling and makes them easy to spot.
Start with a two-colour chain. Let your child pick the colours, then do the first five loops together, slowly. Hand over the hook once the rhythm is clear. Expect the first bracelet to be loose and uneven. The second is always better.
Hold back the beads and pendants for the second or third bracelet. They are more fun once the basic loop feels easy, and they give the kit a second wind on another day.
Finish by closing the bracelet with an S-clip and trying it on. Too tight means adding a few more bands, and the fix takes a minute.
One more tip from experience with this craft in general. Agree on a rule early about wearing bracelets to bed or leaving bands wound around fingers. Loose on the wrist during the day is the idea.
Keeping it tidy
The maker does not describe what storage comes with the kit. Have a few small zip bags or a lidded container ready in case you want to sort the colours your own way.
Do a floor check at pack-up. Bands are quiet when they fall, and they turn up later in the vacuum cleaner and under couch cushions. Counting the hooks and looms back in (two and three) takes seconds and saves a hunt next time.
Finished bracelets are best kept out of hot cars and off sunny windowsills. The maker does not give care advice, so that is general caution with rubber and not a rule from the box.
Gifts and groups
The maker suggests this kit for Christmas, Easter, birthdays and similar occasions, and for group settings like school classes and parties.
For a party, the numbers work in your favour. With more than 2,500 bands and 48 clips, a table of children can each make a bracelet to take home. There are only two hooks and three looms, so plan to teach the finger method to the rest or run it in turns.
As a gift it is flat and light, so it wraps and posts easily. It also suits the child who already has a few bands and keeps running out. The maker markets it to boys and girls alike, and with 32 colours in the mix there is plenty of choice whatever their favourites are.
It can be a nice shared project across ages too. An older sibling who knows a pattern often enjoys teaching it, and the two hooks mean nobody has to wait.
The short version
This loom bands kit holds more than 2,500 rubber bands in 32 colours, 48 S-clips, 104 letter beads, 30 candy beads, 12 soft pendants, 2 crochet hooks, 3 slingshot looms, 2 buckles and a manual. It measures 26 x 16 x 2.3 cm and weighs 0.38 kg.
Accessory shapes and colours are a random mix, by the maker's own note. Latex content, band size and the count per colour are not stated.
The maker's warning is plain: choking hazard, not for children under 3. With an adult at the table, it is a generous kit for a child who wants to make bracelets and hand them out to friends.